-
Featured User: kurt

Open-source hardware project hosting is my passion. I spend most of my free time building neat gadgets or planning what I'll build next. I love building things, and I want to make Open Hardware Hub a place that inspires others to build, ...
-
Updates 2013 February 18
It's been a while, hasn't it? Well, that's ok because we've got a lot of updates to talk about. Most of these have been effective on the site fora couple weeks now. A few may or may not be active when this article gets posted, but they'll certainly be applied in the ...
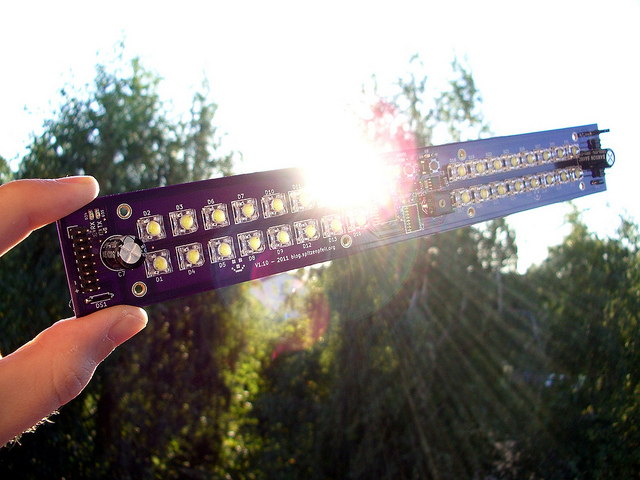
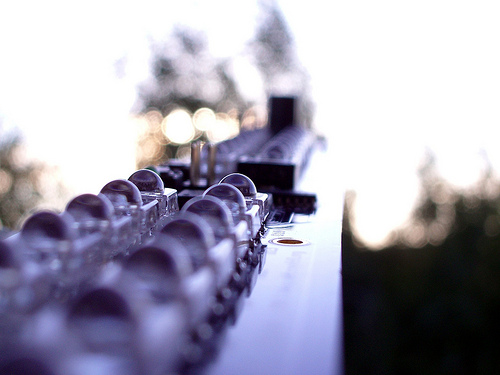
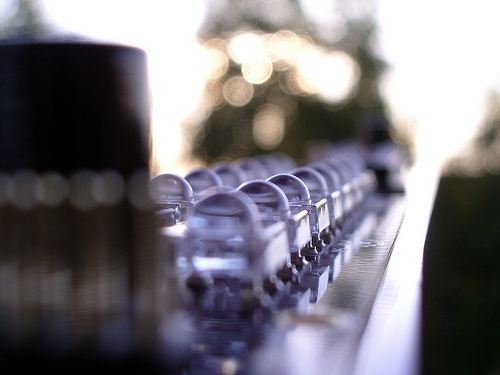
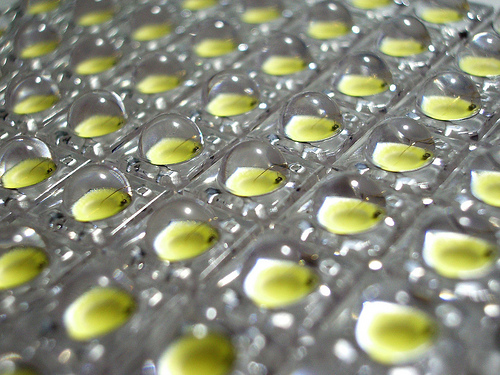
A lamp for nerds

Files
- schematic.pdf - schematic
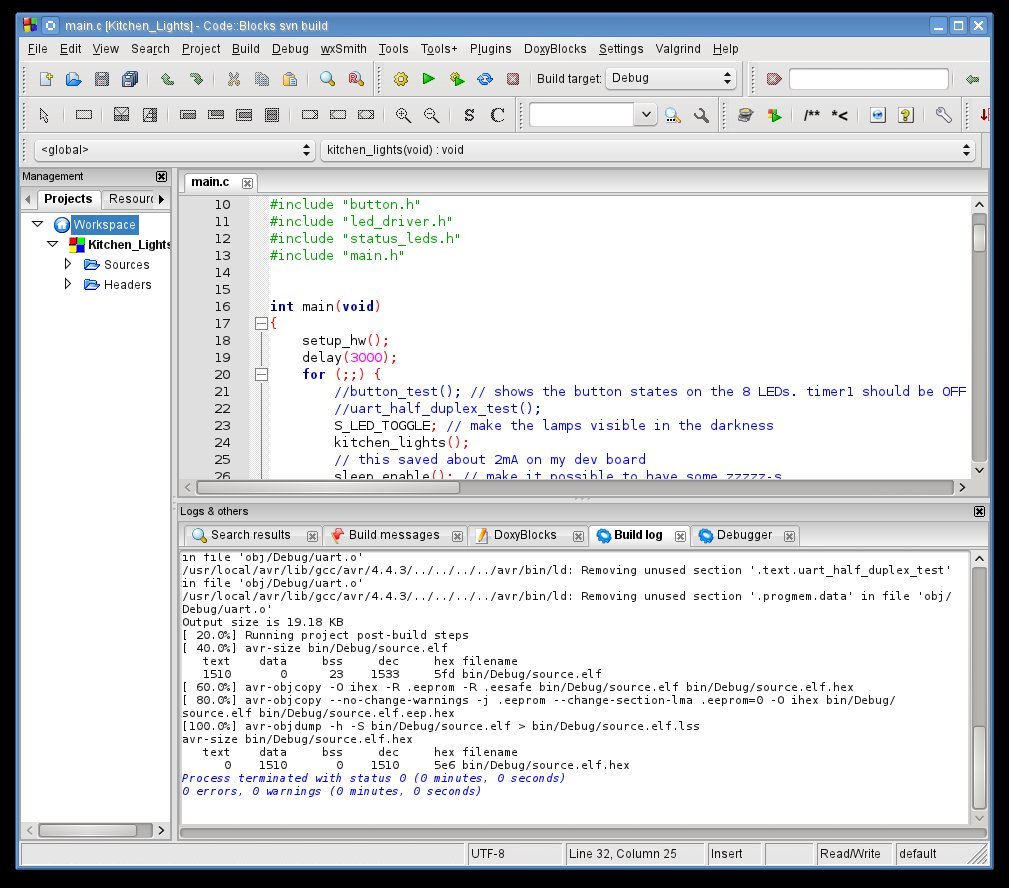
- kitchen_lights.cbp - Code::Blocks IDE project file
- system_ticker.c - system_ticker interrupt
- system_ticker.h - sysem_ticker interrupt
- spi.c - SPI interface
- spi.h - SPI interface
- status_leds.c - status LEDs
- status_leds.h - status LEDs
- button.c - read buttons
- button.h - read buttons
- led_driver.c - LED driver handling
- led_driver.h - LED driver handling
- uart.c - inter board communication UART
- uart.h - inter board communication UART
- main.c - main program
- main.h - main program
- Makefile - makefile
- ATtiny2313.hex - precompiled firmware
- flash.sh - upload BASH script
- README.TXT -
- code_and_docs.zip - Archive
- snapshot.zip - Archived KiCAD / gerber design files
Bill of Materials
| Qty | Part # | Description | Schematic ID | Source | |
|---|---|---|---|---|---|
| 1 |
|
ATTINY2313-20SU | IC, 8BIT 2K FLASH MCU, 2313, SOIC20 | IC1 | Source |
| 1 | MBI5168 | 8-channel constant current LED driver with SPI interface. Pin compatible with STP08CP05, but cheaper | IC2 | Source | |
| 1 |
|
L78L05CD | IC, V REG +5.0V, SMD, 78L05, SO-8-8 | IC3 | Source |
| 15 |
|
ERJ-3EKF1001V | RESISTOR, 0603, 0.1W, 1%, 1K | R3-R17 | Source |
| 1 |
|
ERJ-3EKF1002V | RESISTOR, 0603, 0.1W, 1%, 10K | R1 | Source |
| 6 |
|
ERJ3EKF4700V | RESISTOR, 0603, 0.1W, 1%, 470R | R18-23 | Source |
| 1 |
|
HSMC-C170 | LED, SMD, RED | D36 | Source |
| 1 |
|
HSMG-C170 | LED, GREEN, 15MCD, 572NM | D37 | Source |
| 1 |
|
HSMR-C170 | LED, SMD, BLUE | D38 | Source |
| 2 |
|
HSMY-C170 | LED, SMD, YELLOW | D34-D35 | Source |
| 1 |
|
SSL-LX3044LGD | LED, 3MM, GREEN, 30MCD, 565NM | D33 | Source |
| 2 |
|
08055C104KAT2A | CAPACITOR, 0805, 0.1UF, 50V | C1, C3 | Source |
| 4 |
|
GRM31CR61E106KA12L | CAPACITOR, 1206, X5R, 25V, 10UF | C2, C4-C6 | Source |
| 2 |
|
ECA1VHG102 | CAPACITOR, 1000UF, 35V | C7, C8 | Source |
| 1 |
|
CB10LV471M | TRIMMER, TOP ADJUST, 470R | RV1 | Source |
| 1 |
|
929550-01-36-I | HEADER, PIN, 36WAY | JP2 | Source |
| 1 |
|
929836-01-36 | Pin Strip Header | JP1, P1, P2 | Source |
| 3 |
|
PTS645SL43 LFS | TACTILE SWITCH | SW1-SW3 | Source |
| 32 |
|
NSPWR70CSS-K1 | Nichia NSPWR70CSS Superflux LED, white, 20lm @ 50mA, 129lm/W | D1-D32 | Source |
| 1 |
|
MDR-40-12 | PWR SPLY,SW,40W,12V/3.33A,DIN, 85-264VAC,UL/CB/TUV/CE/CUL | Source | |
| 1 | FL22 | FLUX, SMD, 5ML | Source | ||
| 1 |
|
24-6337-0010 | 44 Series Wire Solder | Source |
Download BOM w/o images
Download BOM w/ images
Steps
1. Install the development tools
If you're using a UNIX-oide operating system, install the following software using your package management tools:
* avr-gcc
* avr-libc
* avr-binutils
* avrdude 5.11 or later
* Code::Blocks IDE (optional, but recommended)
If for some reason you can't find usable versions in the code repositories, have a look at 2 posts on avrfreaks.net
A) >> http://www.avrfreaks.net/index.php?name=PNphpBB2&file=viewtopic&t=104134 B) >> http://www.avrfreaks.net/index.php?name=PNphpBB2&file=viewtopic&t=42631
If you're a beginner, get an experienced friend to help you there. And make BACKUPS, _always_ make backups!
If you've already got the linux version of the Arduino IDE up and running, you should be good.
If you use winblows, get AVRStudio4 + the latest WinAVR release. The code compiles just fine using the 'external makefile' option.
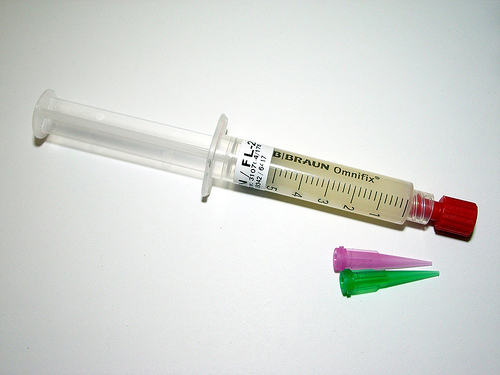
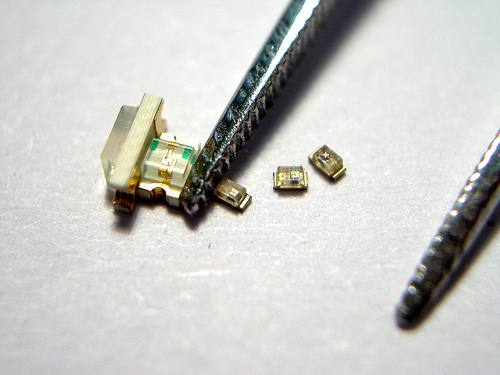
2. Learn to solder ;-)
Google for howto guides, extensively use Youtube to see how it is done. Get a good soldering station, proper SnPb 60/40 solder (the lead-free stuff is EVIL) with rosin core, fluxed solder wick/braid, tweezers, IPA wiping alcohol, cotton swabs and a stiff bristled brush, dry tip cleaner (brass shavings) and additional flux (dispenser pen or preferably paste flux in a syringe). This will not be cheap, but if you spend a reasonable amount now, the hardware will last many years. You'll definitely want to spend most of your budget on an adjustable! and well regulated soldering station. Take a look at what gear your fellow geeks use and test it. If it works for you and is within your budget, consider making a purchase. You simply can't expect to have fun working with a 10$ soldering iron that constantly burns your parts. Finally a little piece of wisdom: "Use more flux!". And if that doesn't help: "USE MORE".
3. Learn to use PCB layout software
Personally I use 'KICAD', which happens to be open source and does not limit you in board size. It runs well on linux and the microsoft OS. For historical reasons (I guess) many 'open source hardware' companies seem to use EAGLE, which runs on winblows and linux (wine) and possibly also on mac-os. There's also 'gEDA', which is very powerful but maybe somewhat hard to use. The GERBER viewer of that package (called 'gerbv') is very good. You'll find many good tutorials on the web. Don't expect to have these tools up and running within a few minutes. You need to spend a couple of hours (or even days) using them to get the hang of it (or to come to the decision to look for another program). Don't use tools that for some reason cannot create GERBER files. Don't get trapped by "vendor lock-in".


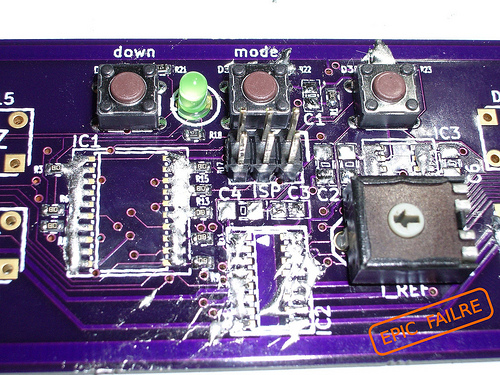
4. Make your own PCBs
I've attached a snapshot of the design files that were used to produce the printed circuit board shown on openhardwarehub. There are some minor things (almost cost neutral) that need to be addressed (see the readme files). The 'worst' thing you have to do is omit 2 diodes and make an ISP adapter cable for a few cents. The rest works as expected.
If you open the design files with KiCAD, you'll be greeted with an error message complaining about missing libraries. Don't worry too much, all parts are cached in the project files themselves. You can view and edit the schematic and layout. The schematic symbols are automatically cached in a 'XXX-cache' library, so you can instantly use it. If you intend to do modifications to the board layout that involve more than just moving parts, you'll have to add the 'footprint_archive.mod' to the library path to both the schematic editor (PCBnew) and the footprint-asigning-tool (CVpcb) - or at least update the path to your system layout. Before you start doing that, please practice with a few simple boards, so you get the hang of it.
Still I encourage you to make your very own boards and use this just as inspiration. It will be more rewarding.
5. Find a PCB manufacturor that you can afford
Again it is all about the price. There are basically two options. A) quick and expensive, B) slow and cheap(er). For small runs I recommend having a look at pooling services (like Laen's PCB service at dorkbot.pdx), if you need more have a look at these websites: seeedstudio.com / iteadstudio.com / elecfreaks.net - they have very good deals. If you need something quickly and money is not important, I can recommend goldphoenixpcb.com - there are MANY more places to get PCBs fabricated, but I can only recommend the ones I've personally dealt with. PCB fab houses usually want 'GERBER' files from you.
Download steps w/o images
Download steps w/ images
Revisions
4 -
3 - Added all design files.
2 - Fixed a typo.
1 - Initial project release
Add revision
blog comments powered by Disqus
Back


