-
Featured User: kurt

Open-source hardware project hosting is my passion. I spend most of my free time building neat gadgets or planning what I'll build next. I love building things, and I want to make Open Hardware Hub a place that inspires others to build, ...
-
Updates 2013 February 18
It's been a while, hasn't it? Well, that's ok because we've got a lot of updates to talk about. Most of these have been effective on the site fora couple weeks now. A few may or may not be active when this article gets posted, but they'll certainly be applied in the ...
Scavenger Hunt Beacon
Files
- Scavenger Hunt Beacon V1.zip - Scavenger Hunt Beacon GERBER
- Scavenger Hunt Beacon.sch - Scavenger Hunt Beacon EAGLE Schematic
- Scavenger Hunt Beacon.brd - Scavenger Hunt Beacon EAGLE Board
- Scavenger Beacon AVR Studio.zip - Scavenger Hunt Beacon AVR Studio Project
Bill of Materials
| Qty | Part # | Description | Schematic ID | Source | |
|---|---|---|---|---|---|
| 1 |
|
ATTINY13-20PU | IC, 8BIT 1K FLASH MCU, DIP8 | IC1 | Source |
| 1 |
|
CR2032 | Lithium Battery | Bat1 | Source |
| 1 |
|
QED234 | IR Emitting Diode | LED1 | Source |
| 2 |
|
CF14JT100R | 1/4w 100 ohms 5% Carbon Film Resistors | R1, R2 | Source |
| 1 |
|
1-390261-2 | SOCKET IC, DIL, 0.3", 8WAY | IC1 | Source |
| 1 |
|
BS-7 | HOLDER COINCELL 2032 RETAINRCLIP | Battery Holder | Source |
| 1 |
|
WP7113LID | 5MM LOW CURRENT RED LED, LAMP THOLE, BULK | LED2 | Source |
Download BOM w/o images
Download BOM w/ images
Steps
1. Collect Parts
Make sure you have everything in the parts list.
You can get the PCB by going to BatchPCB and submitting the GERBER files above for processing.

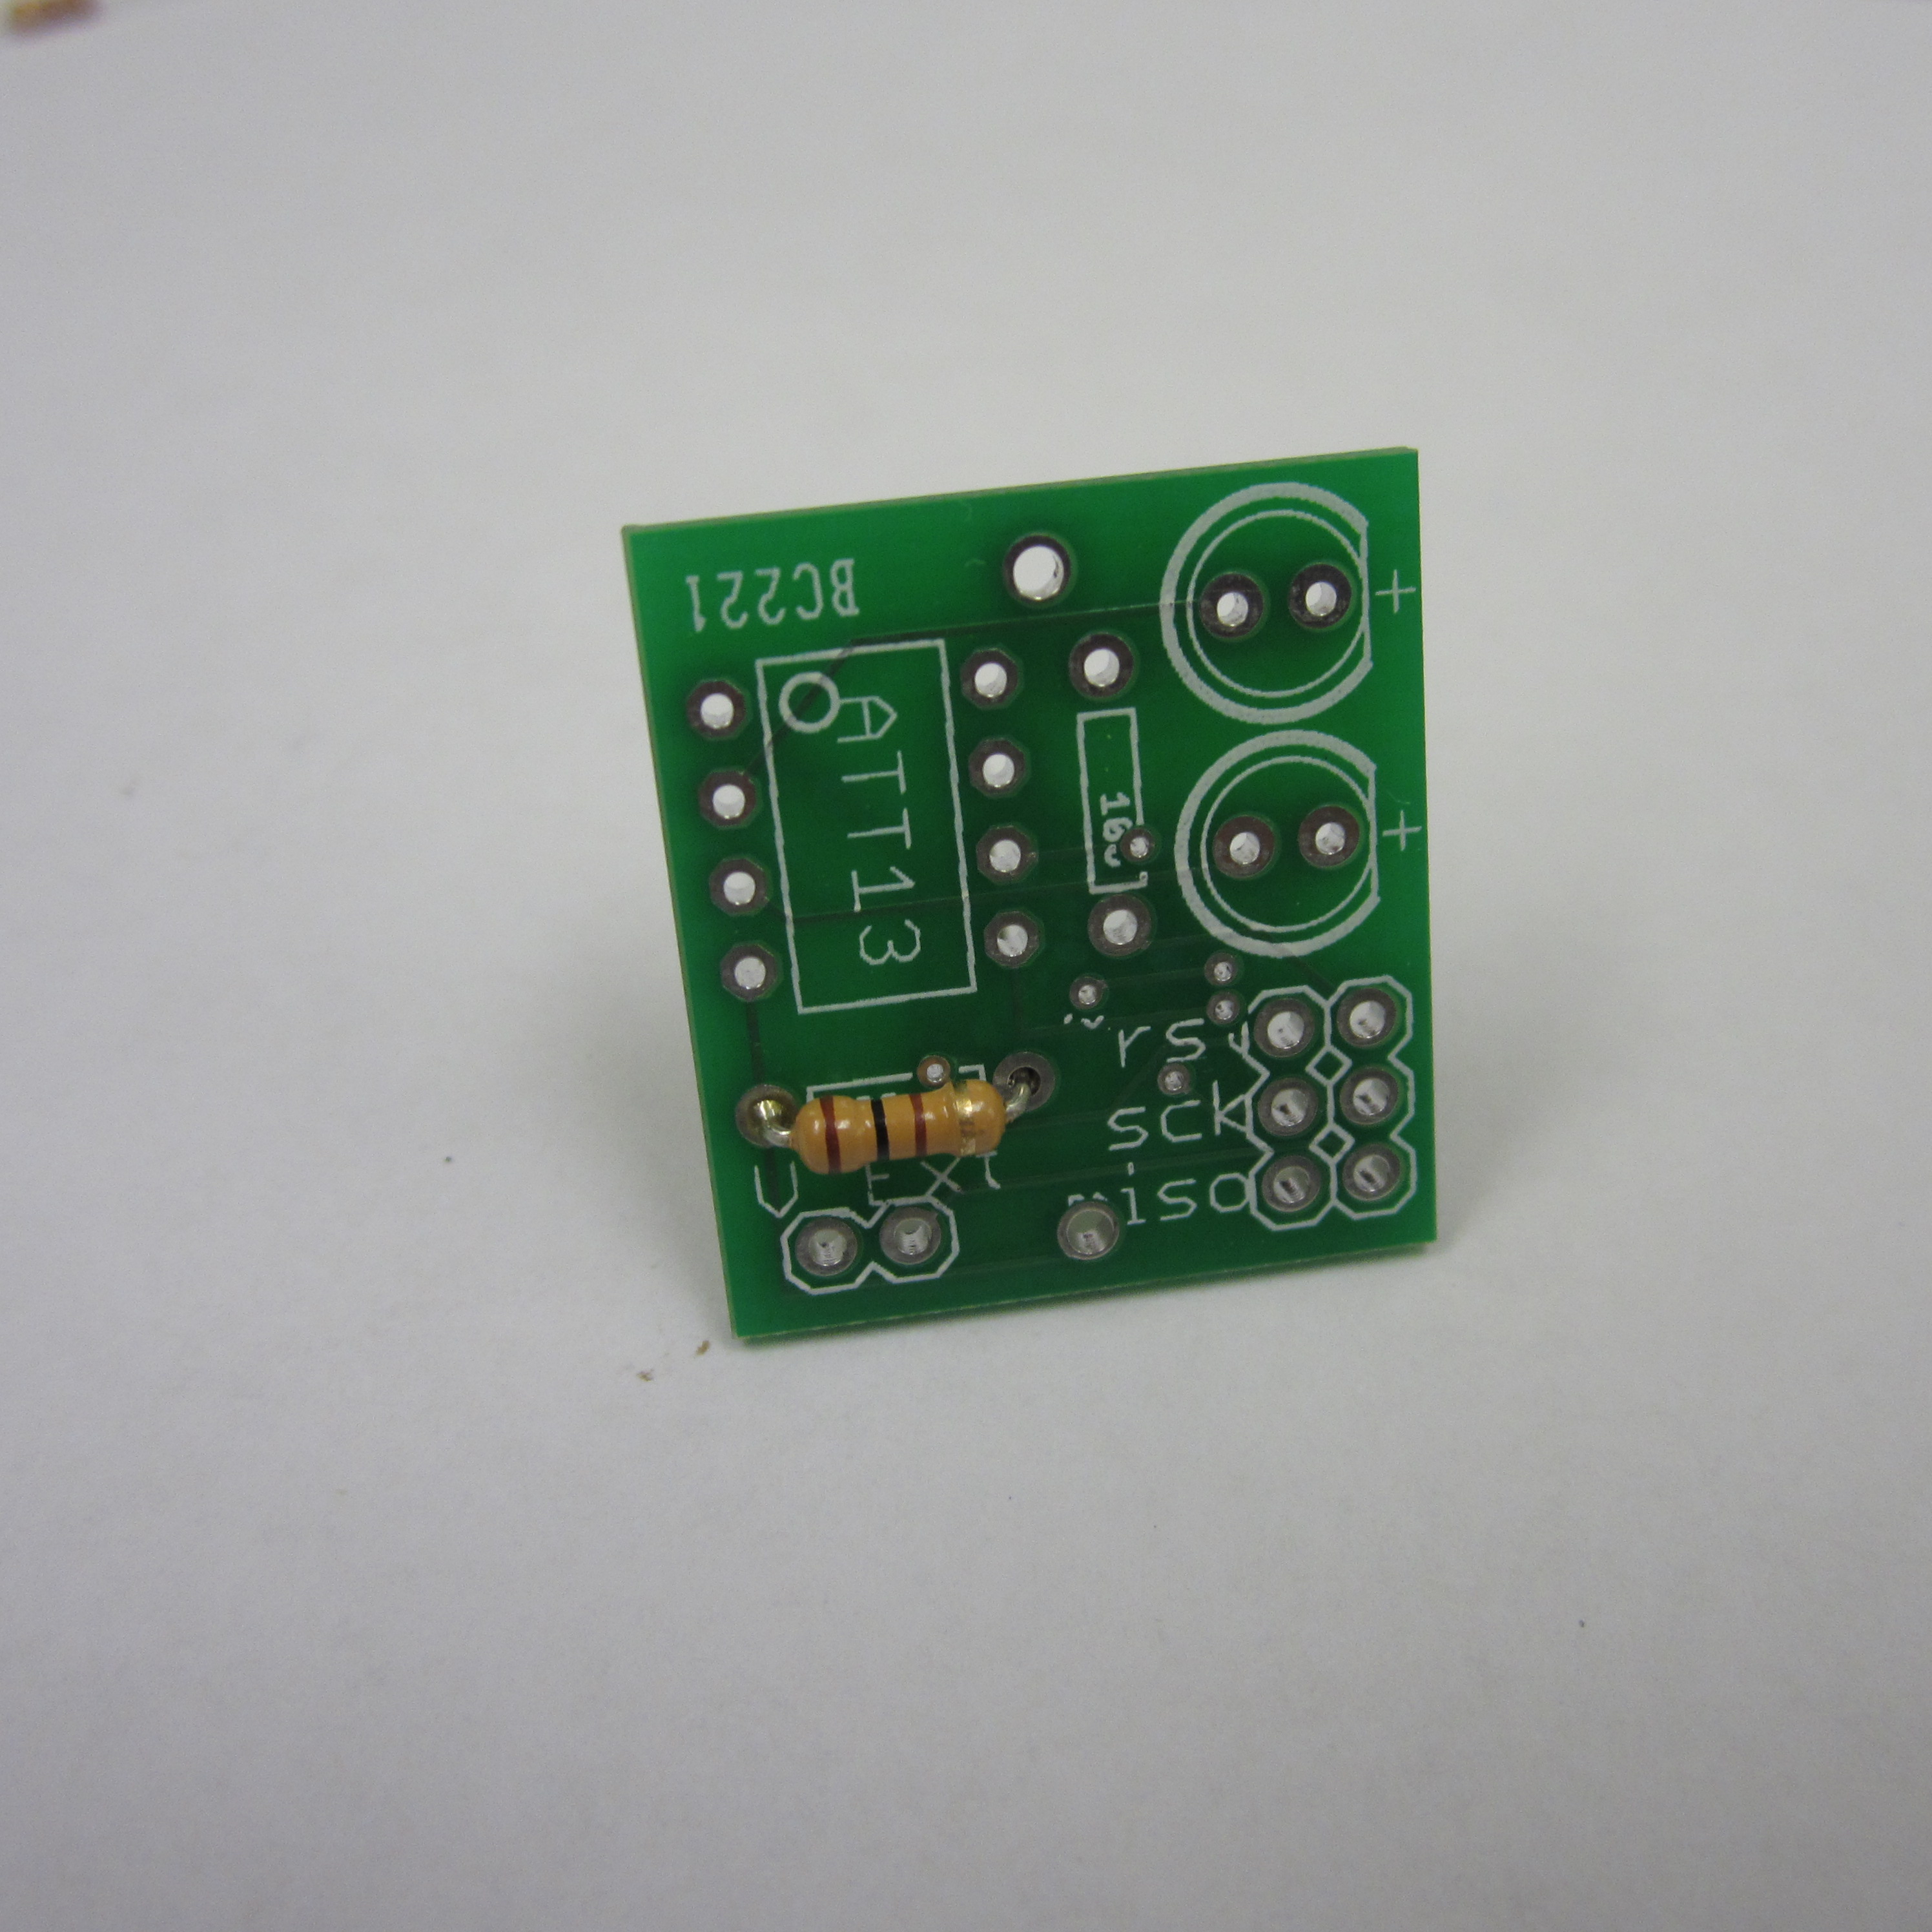
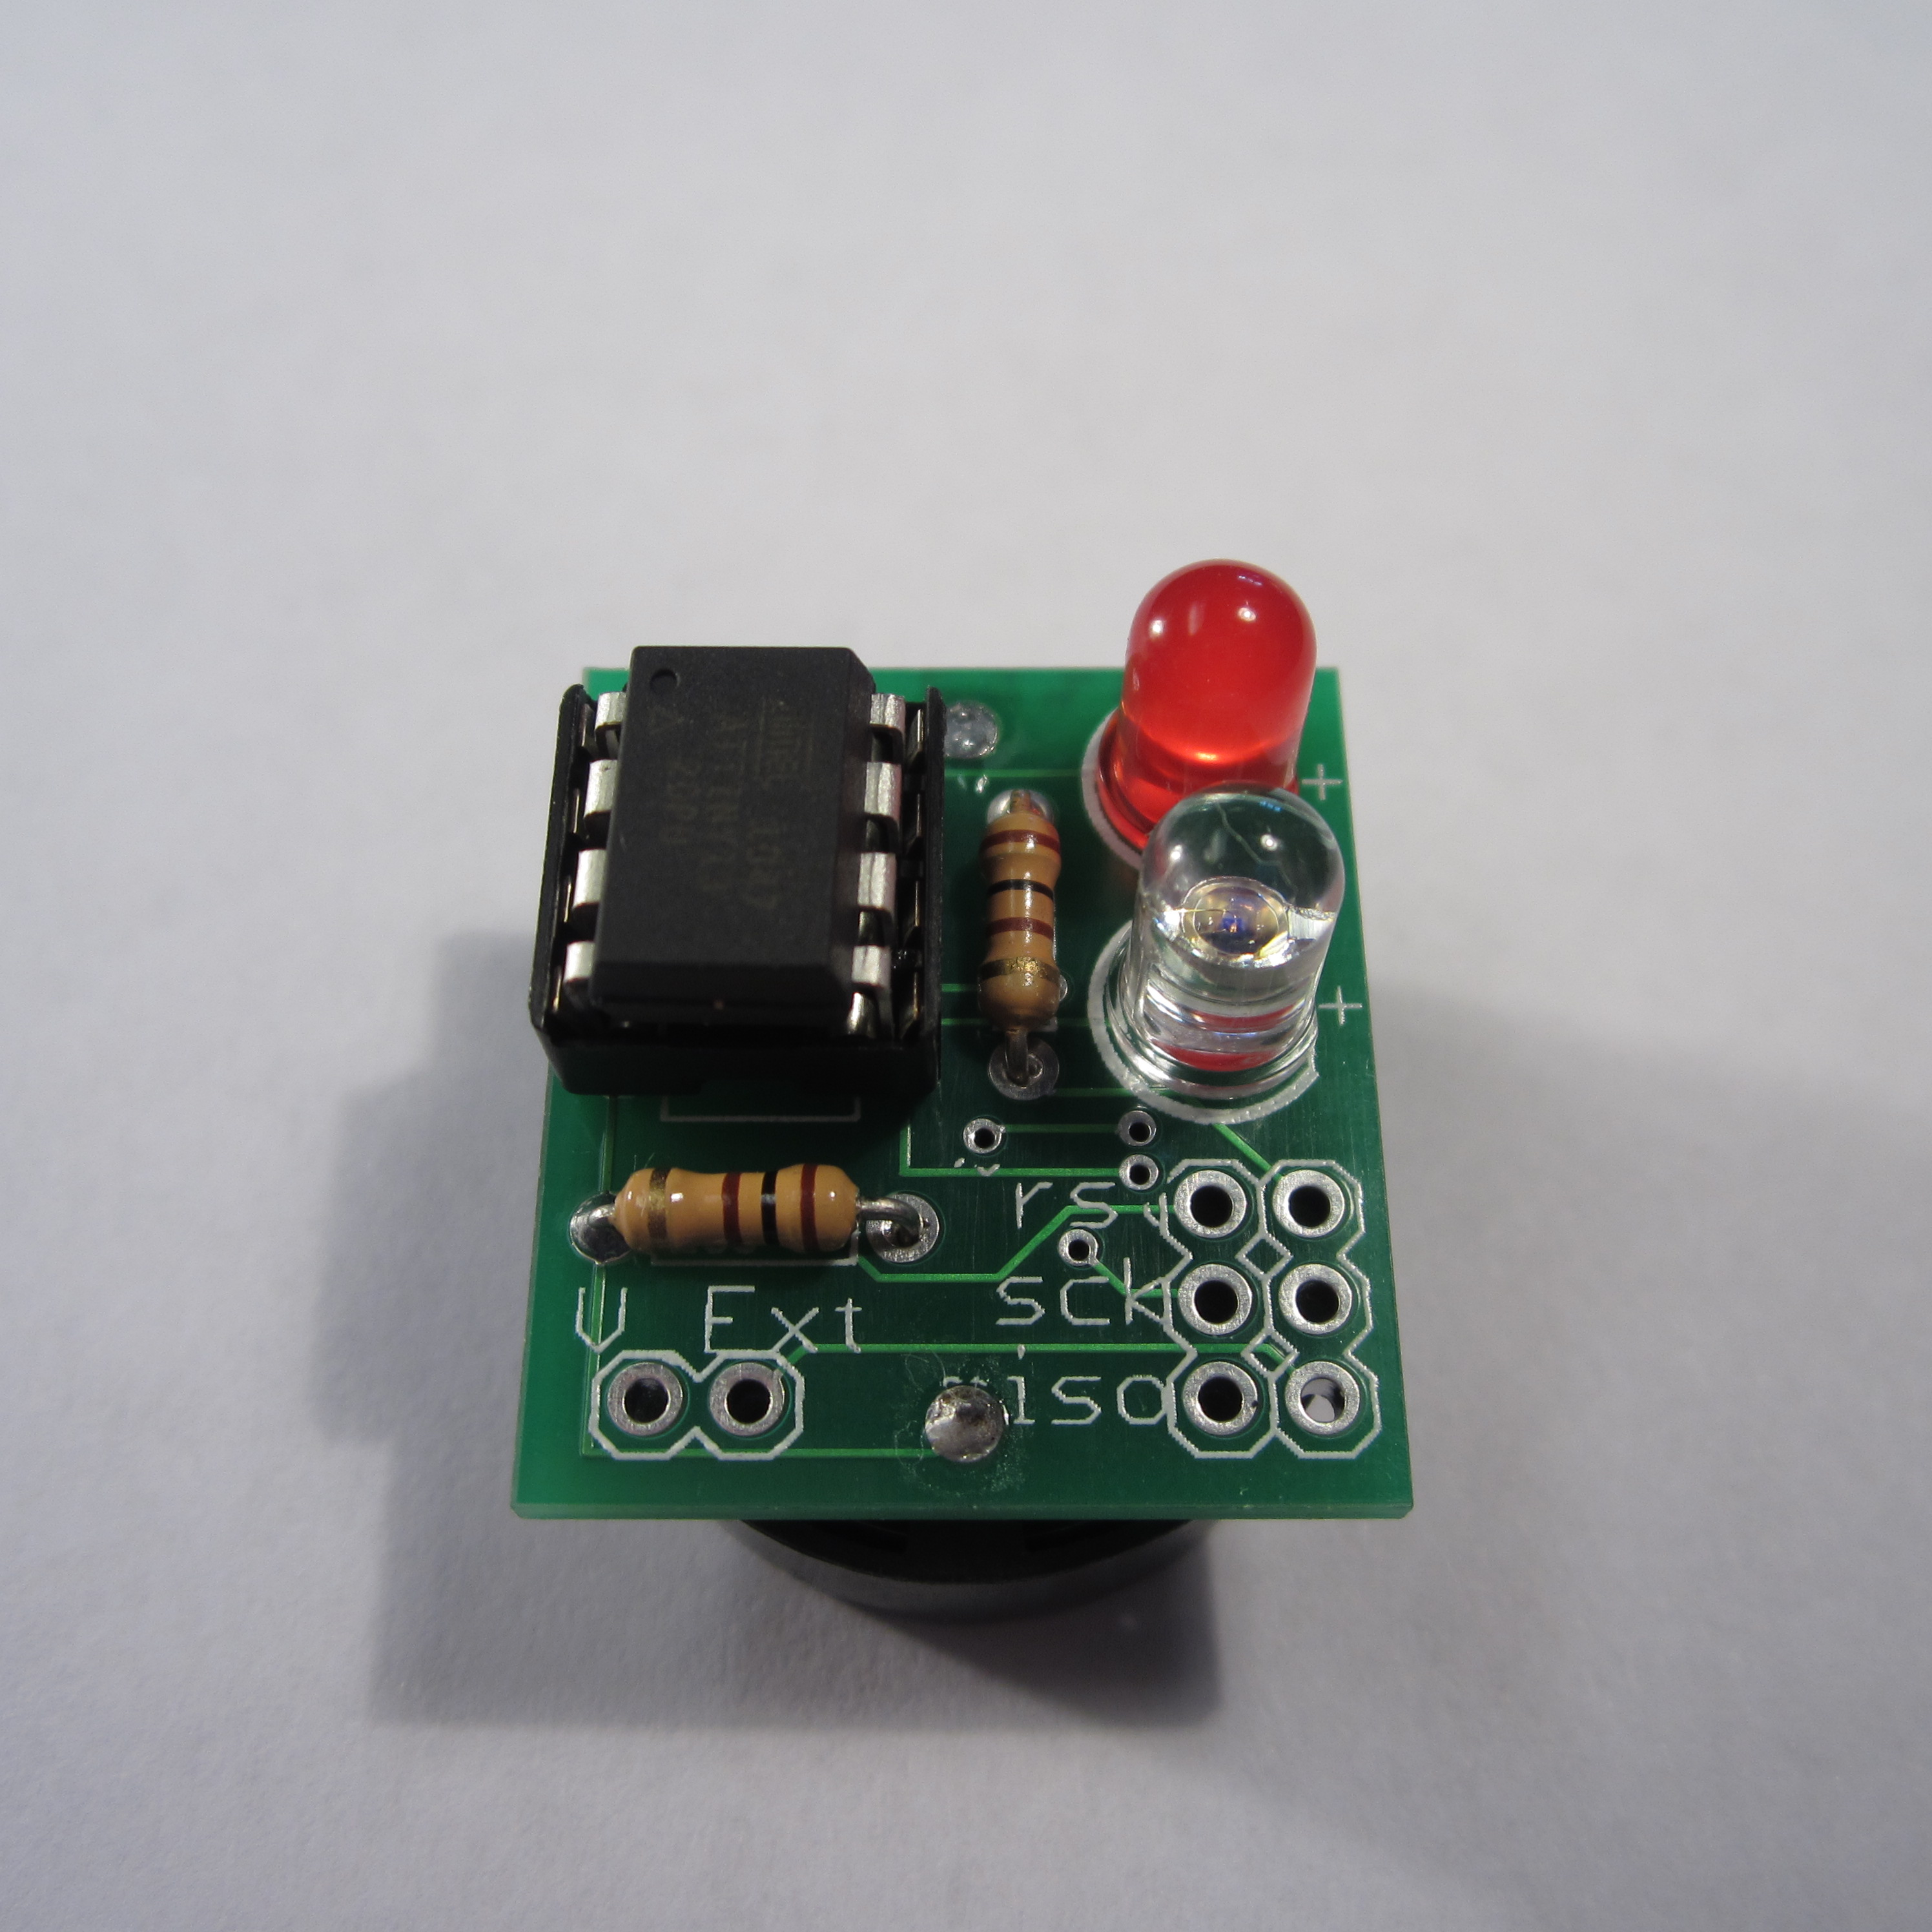
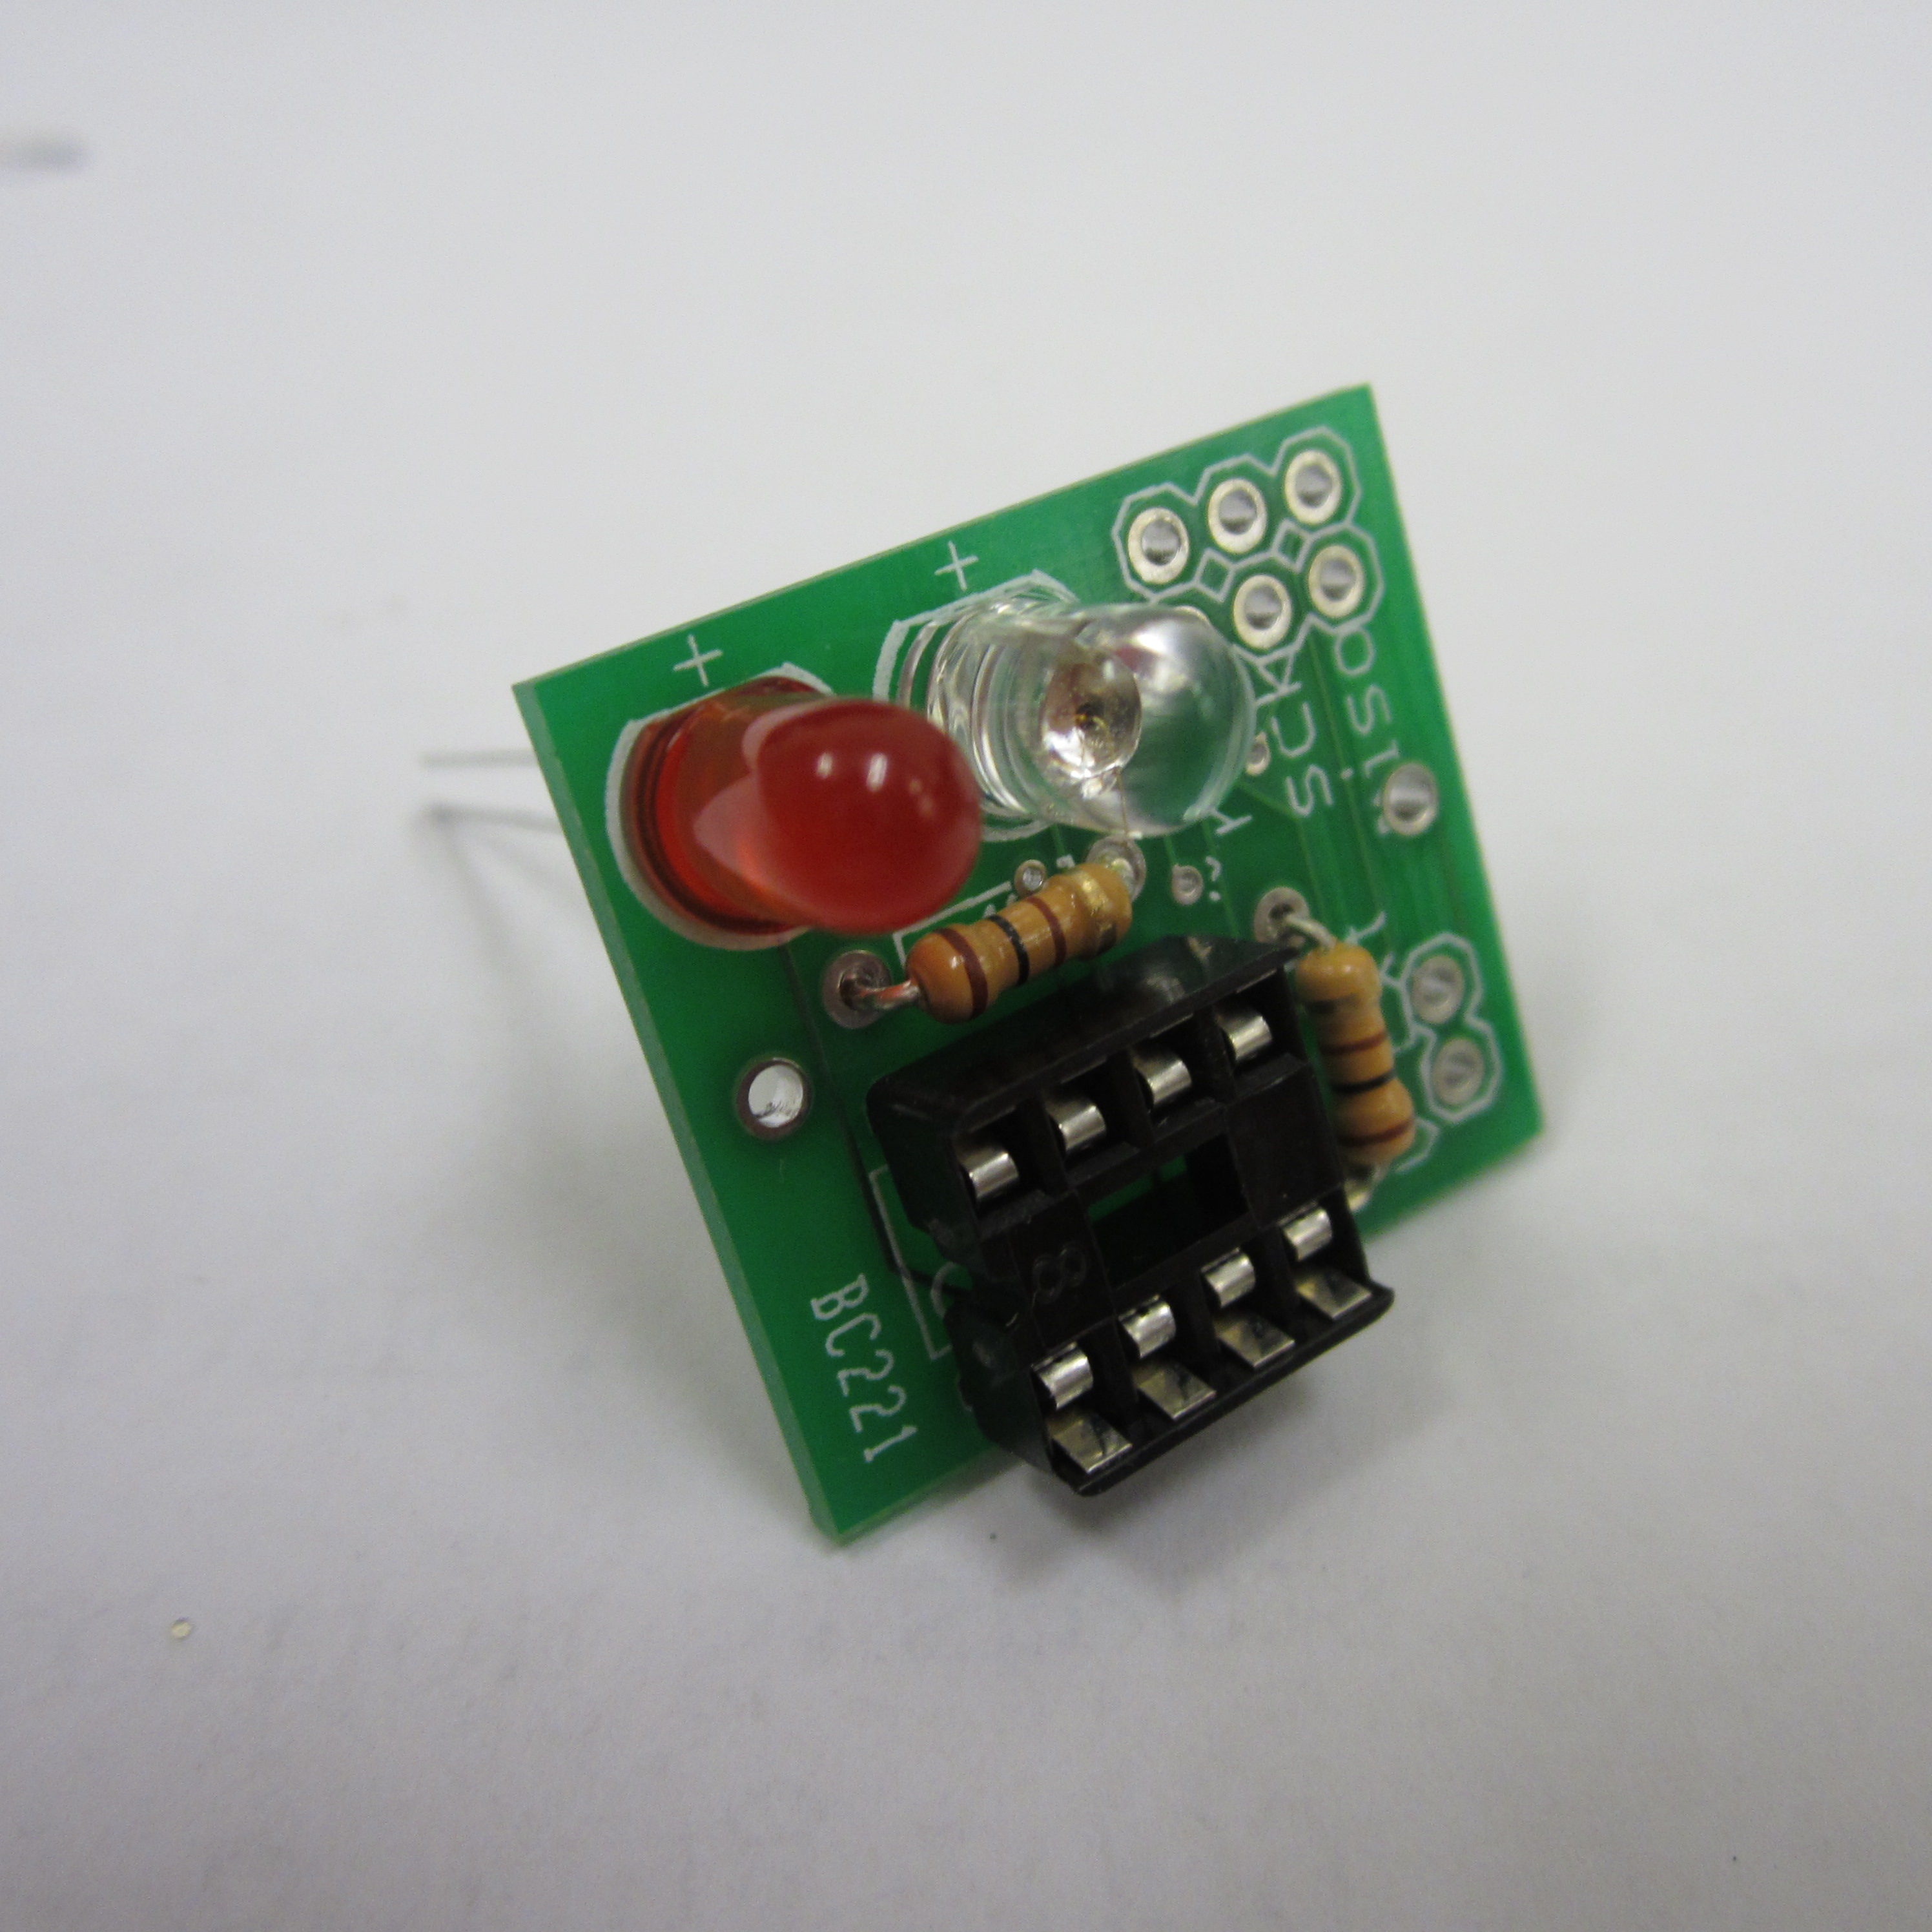
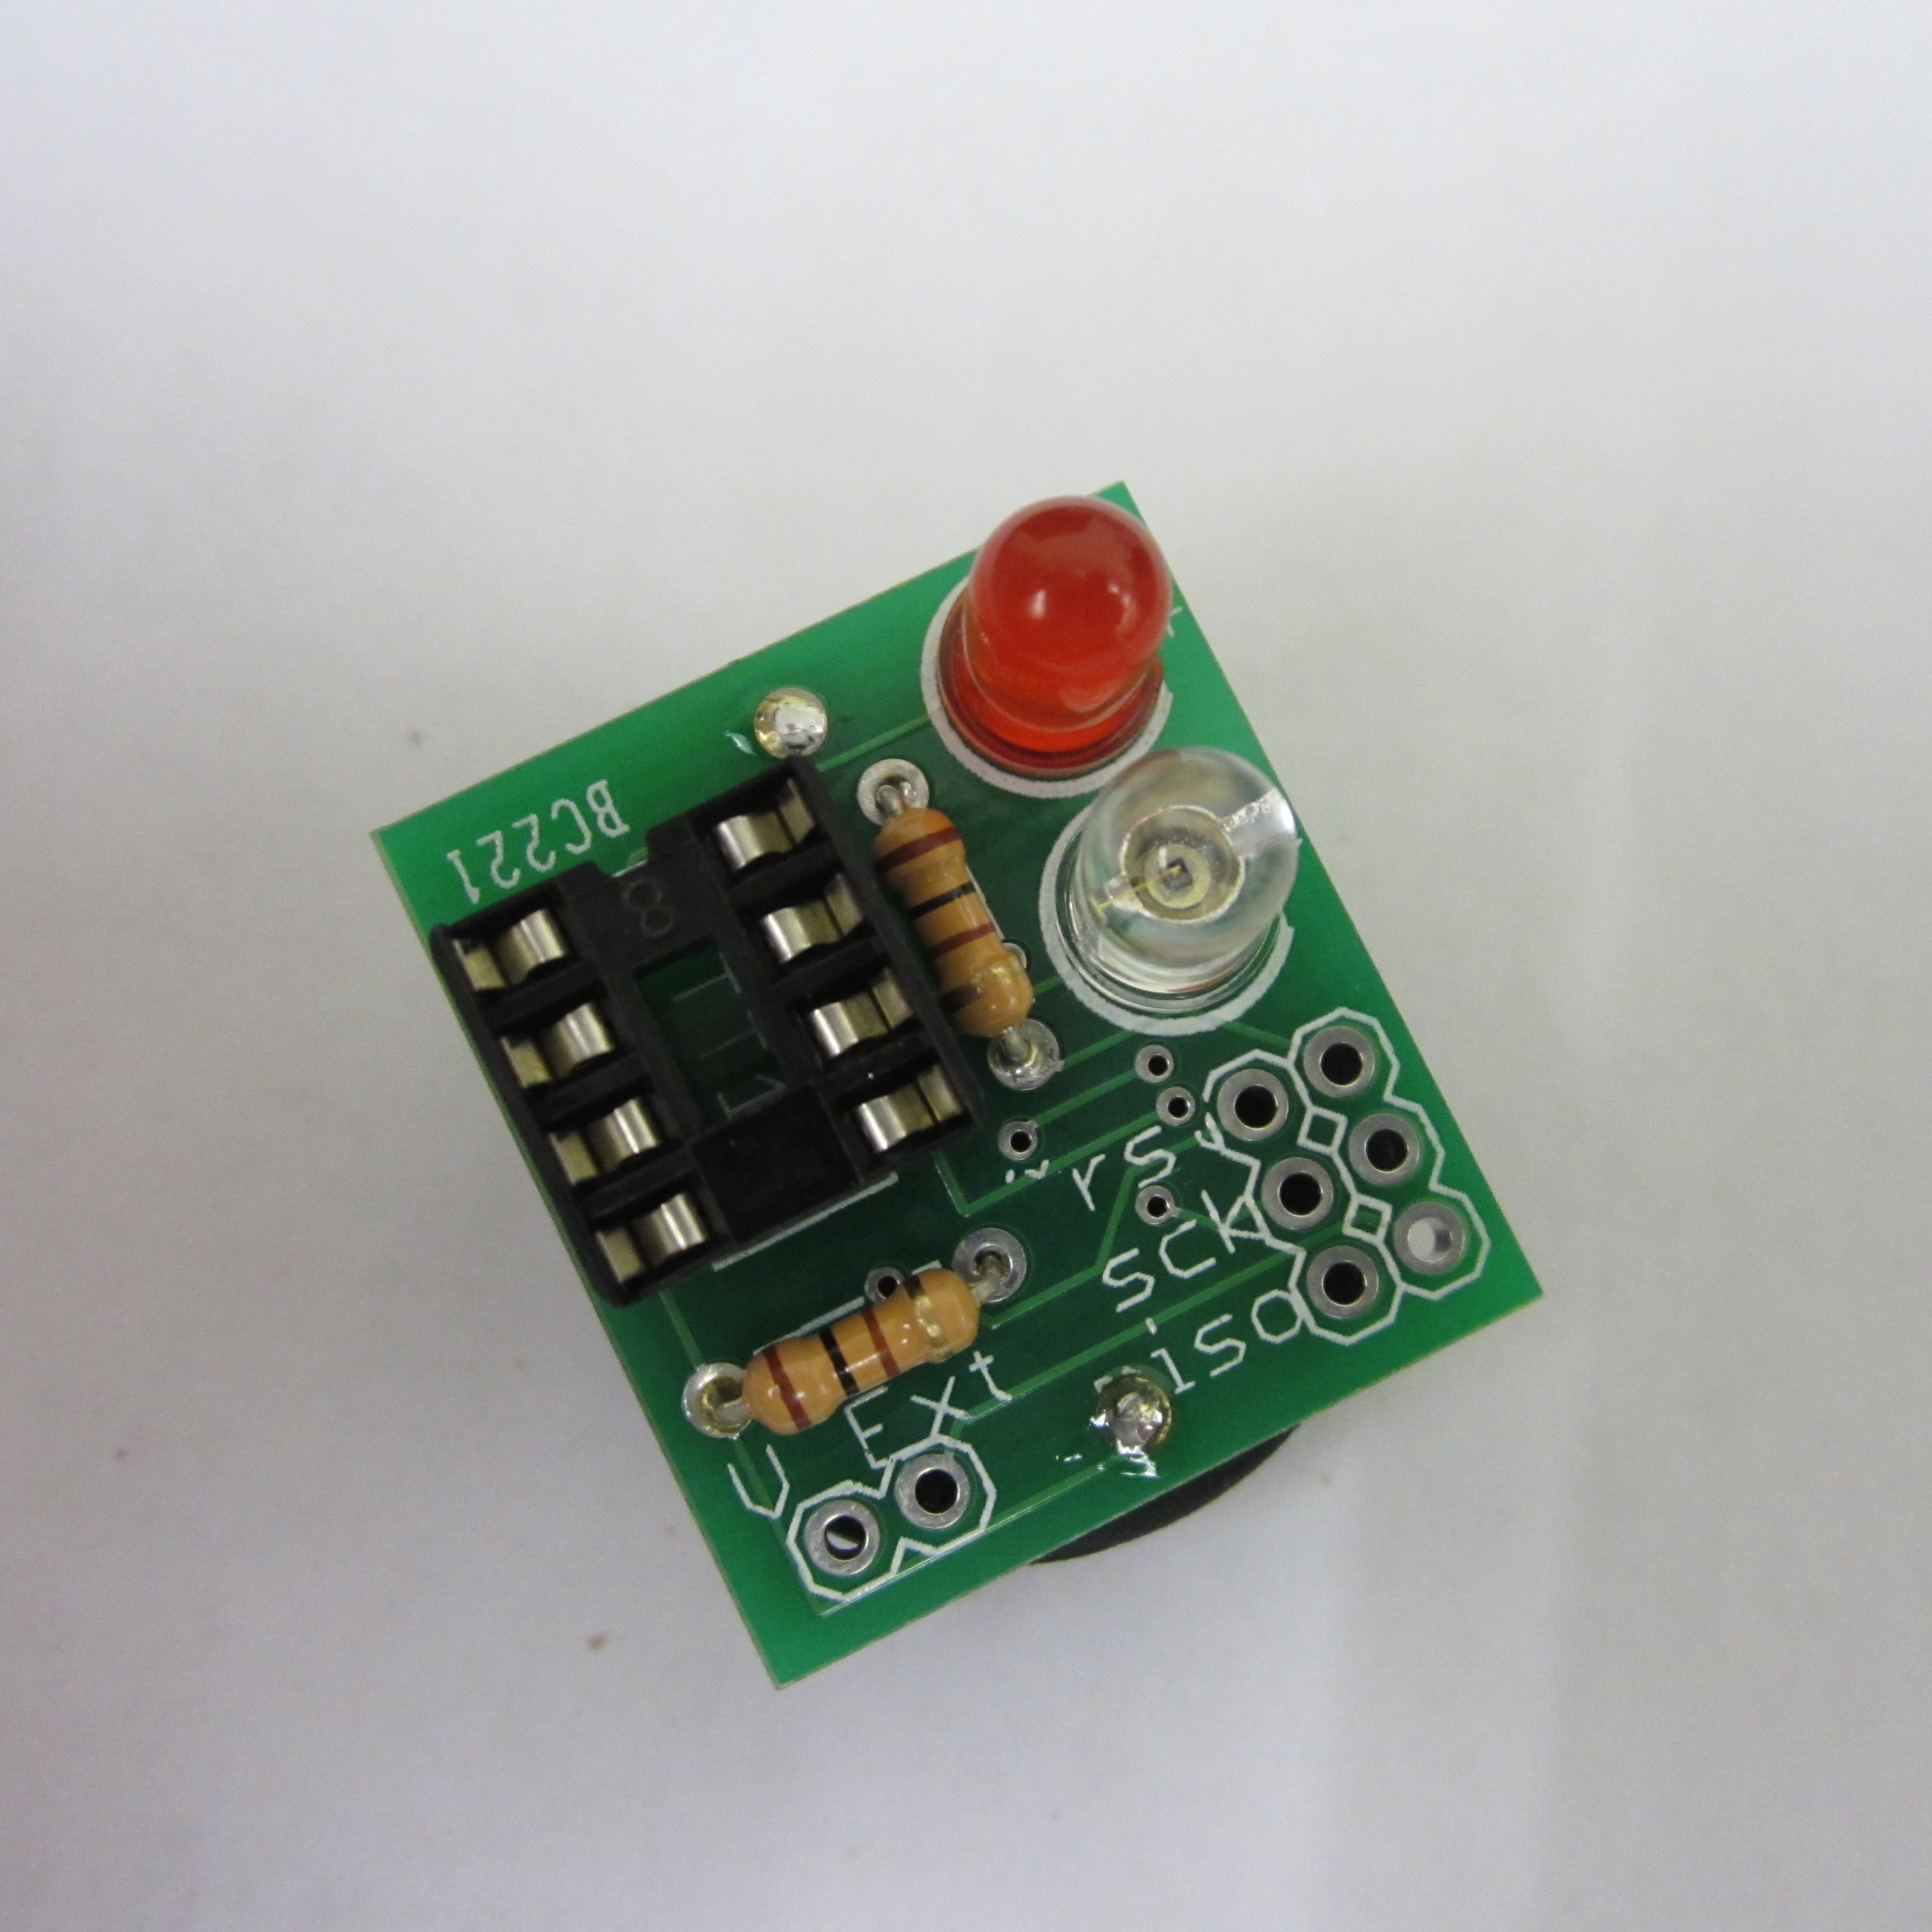
3. Solder IC Socket and Resistor
Solder the second resistor into place. Solder one of the socket legs in place. Then use one hand to push the socket all the way into the board while using your other hand to re-melt the solder on the socket leg. This way you can make sure the socket is well-seated. Continue by soldering the rest of the socket legs.

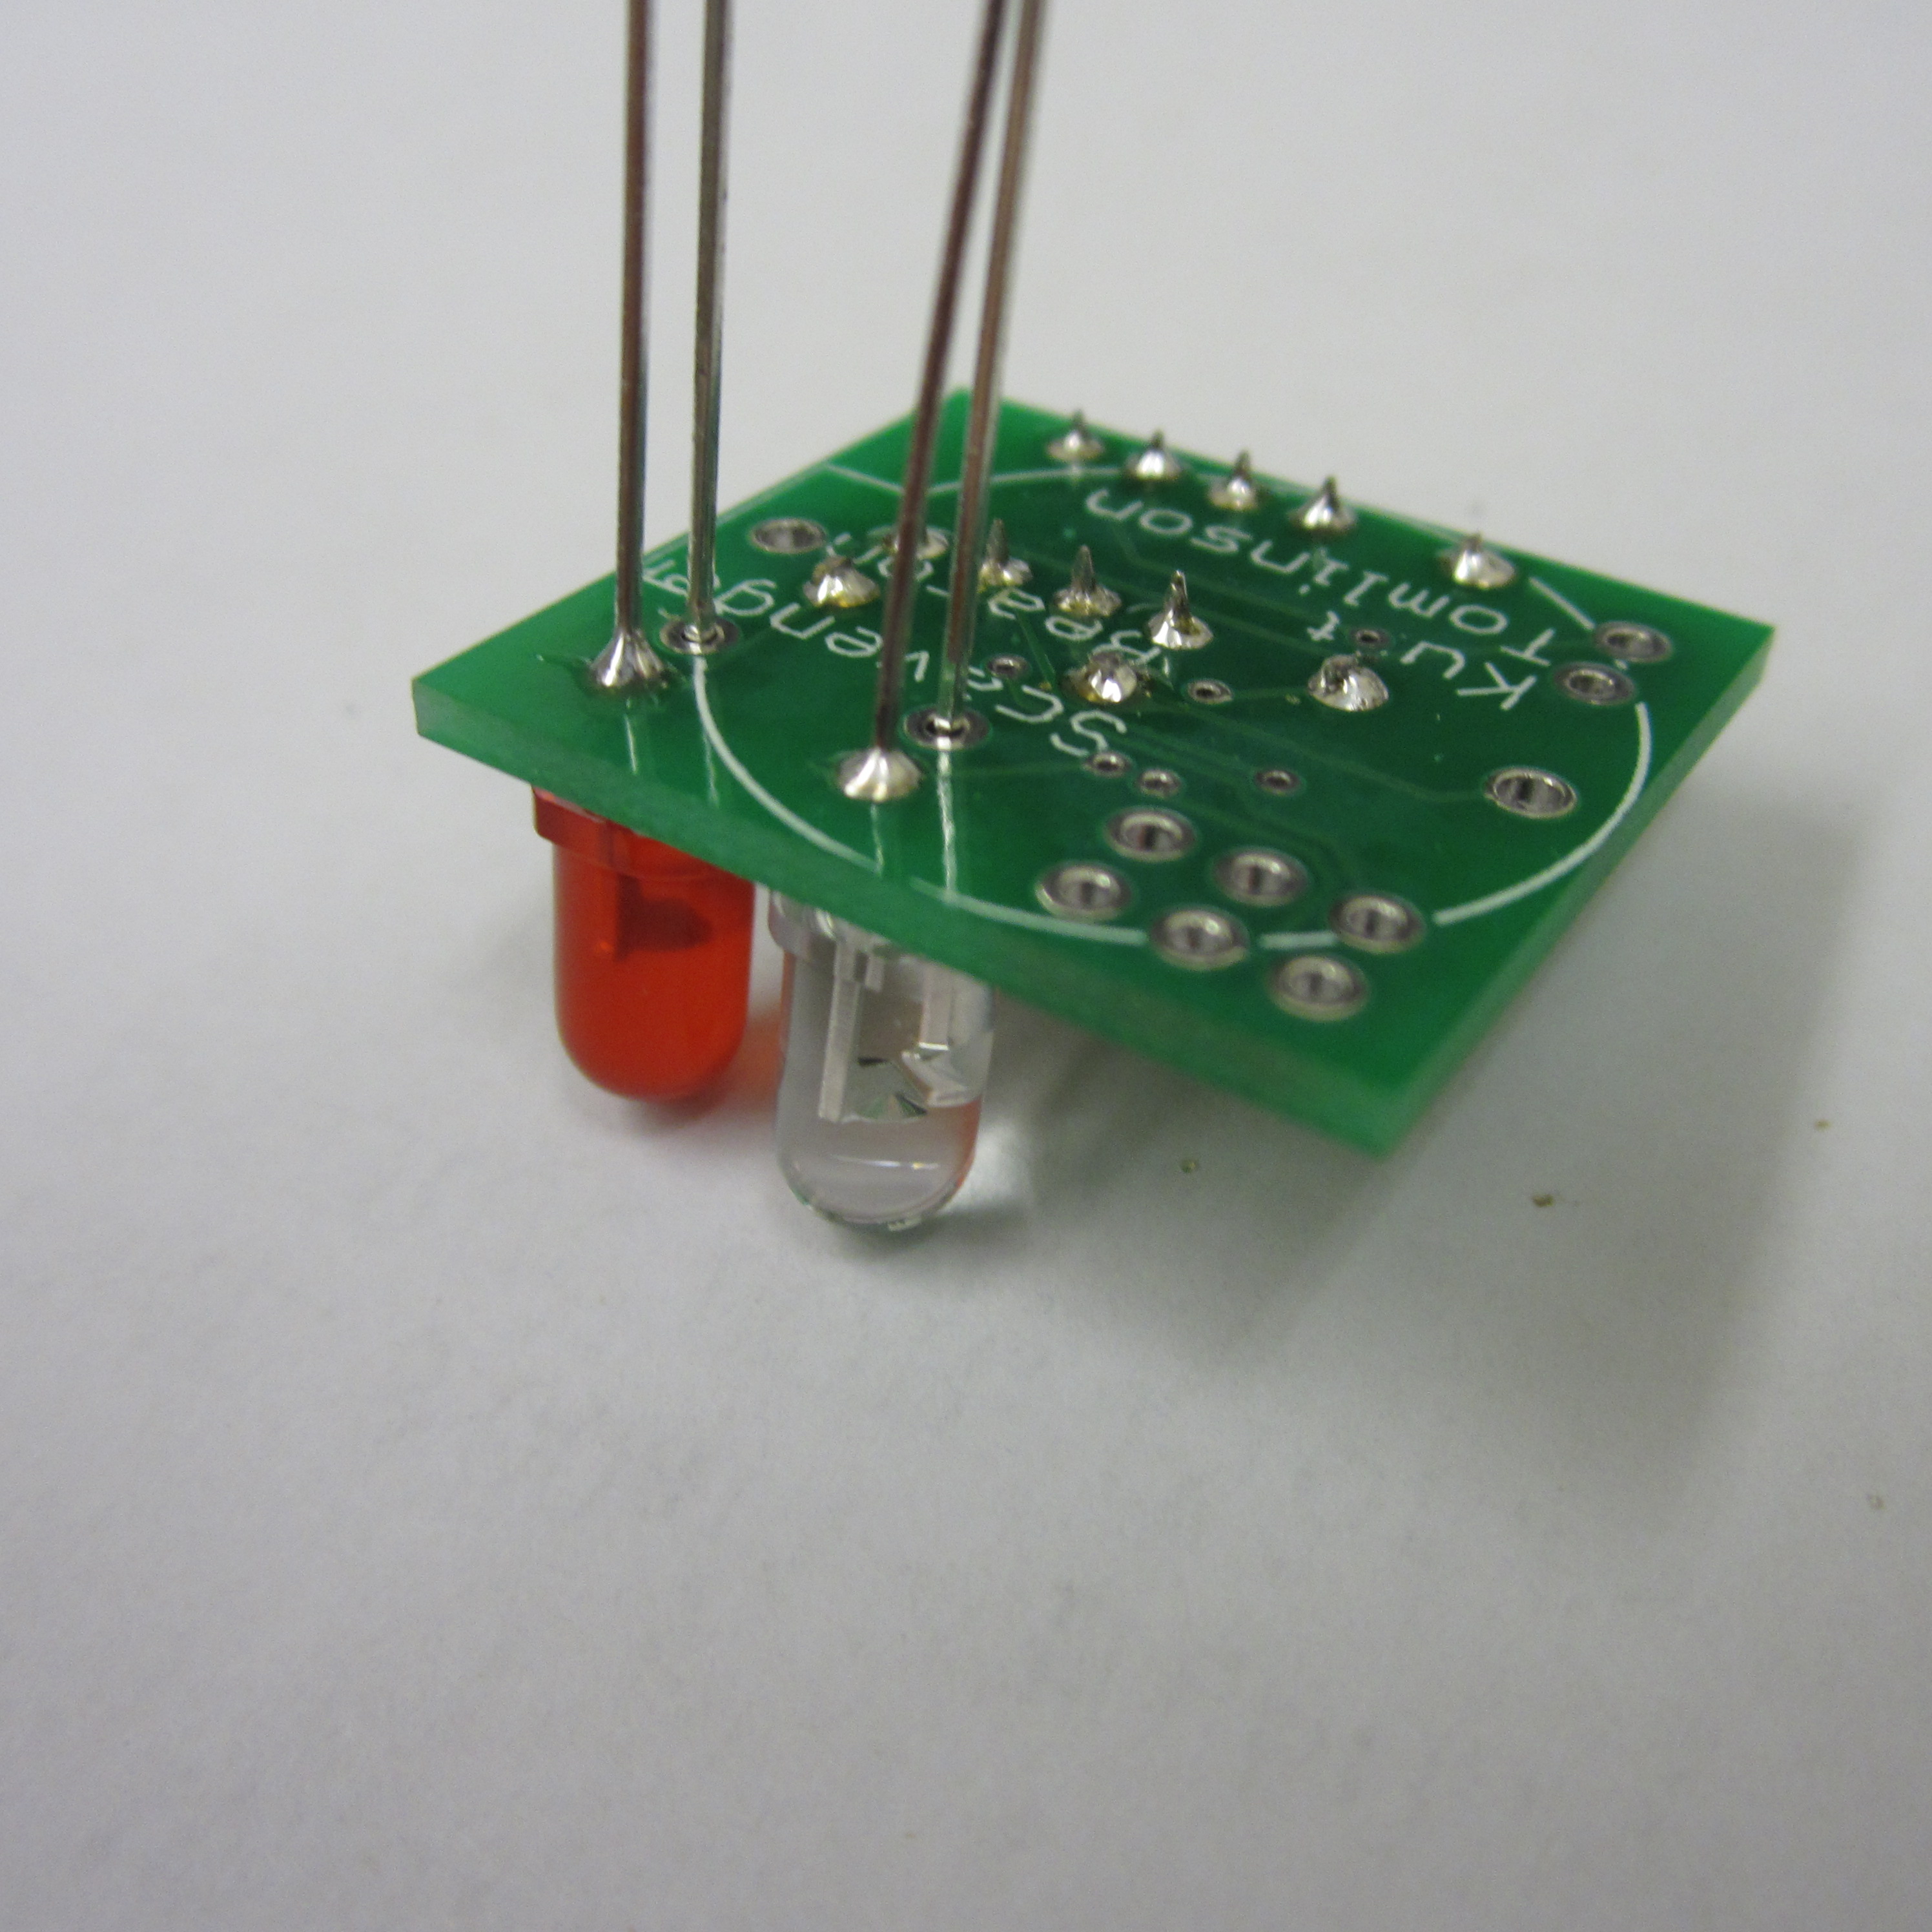
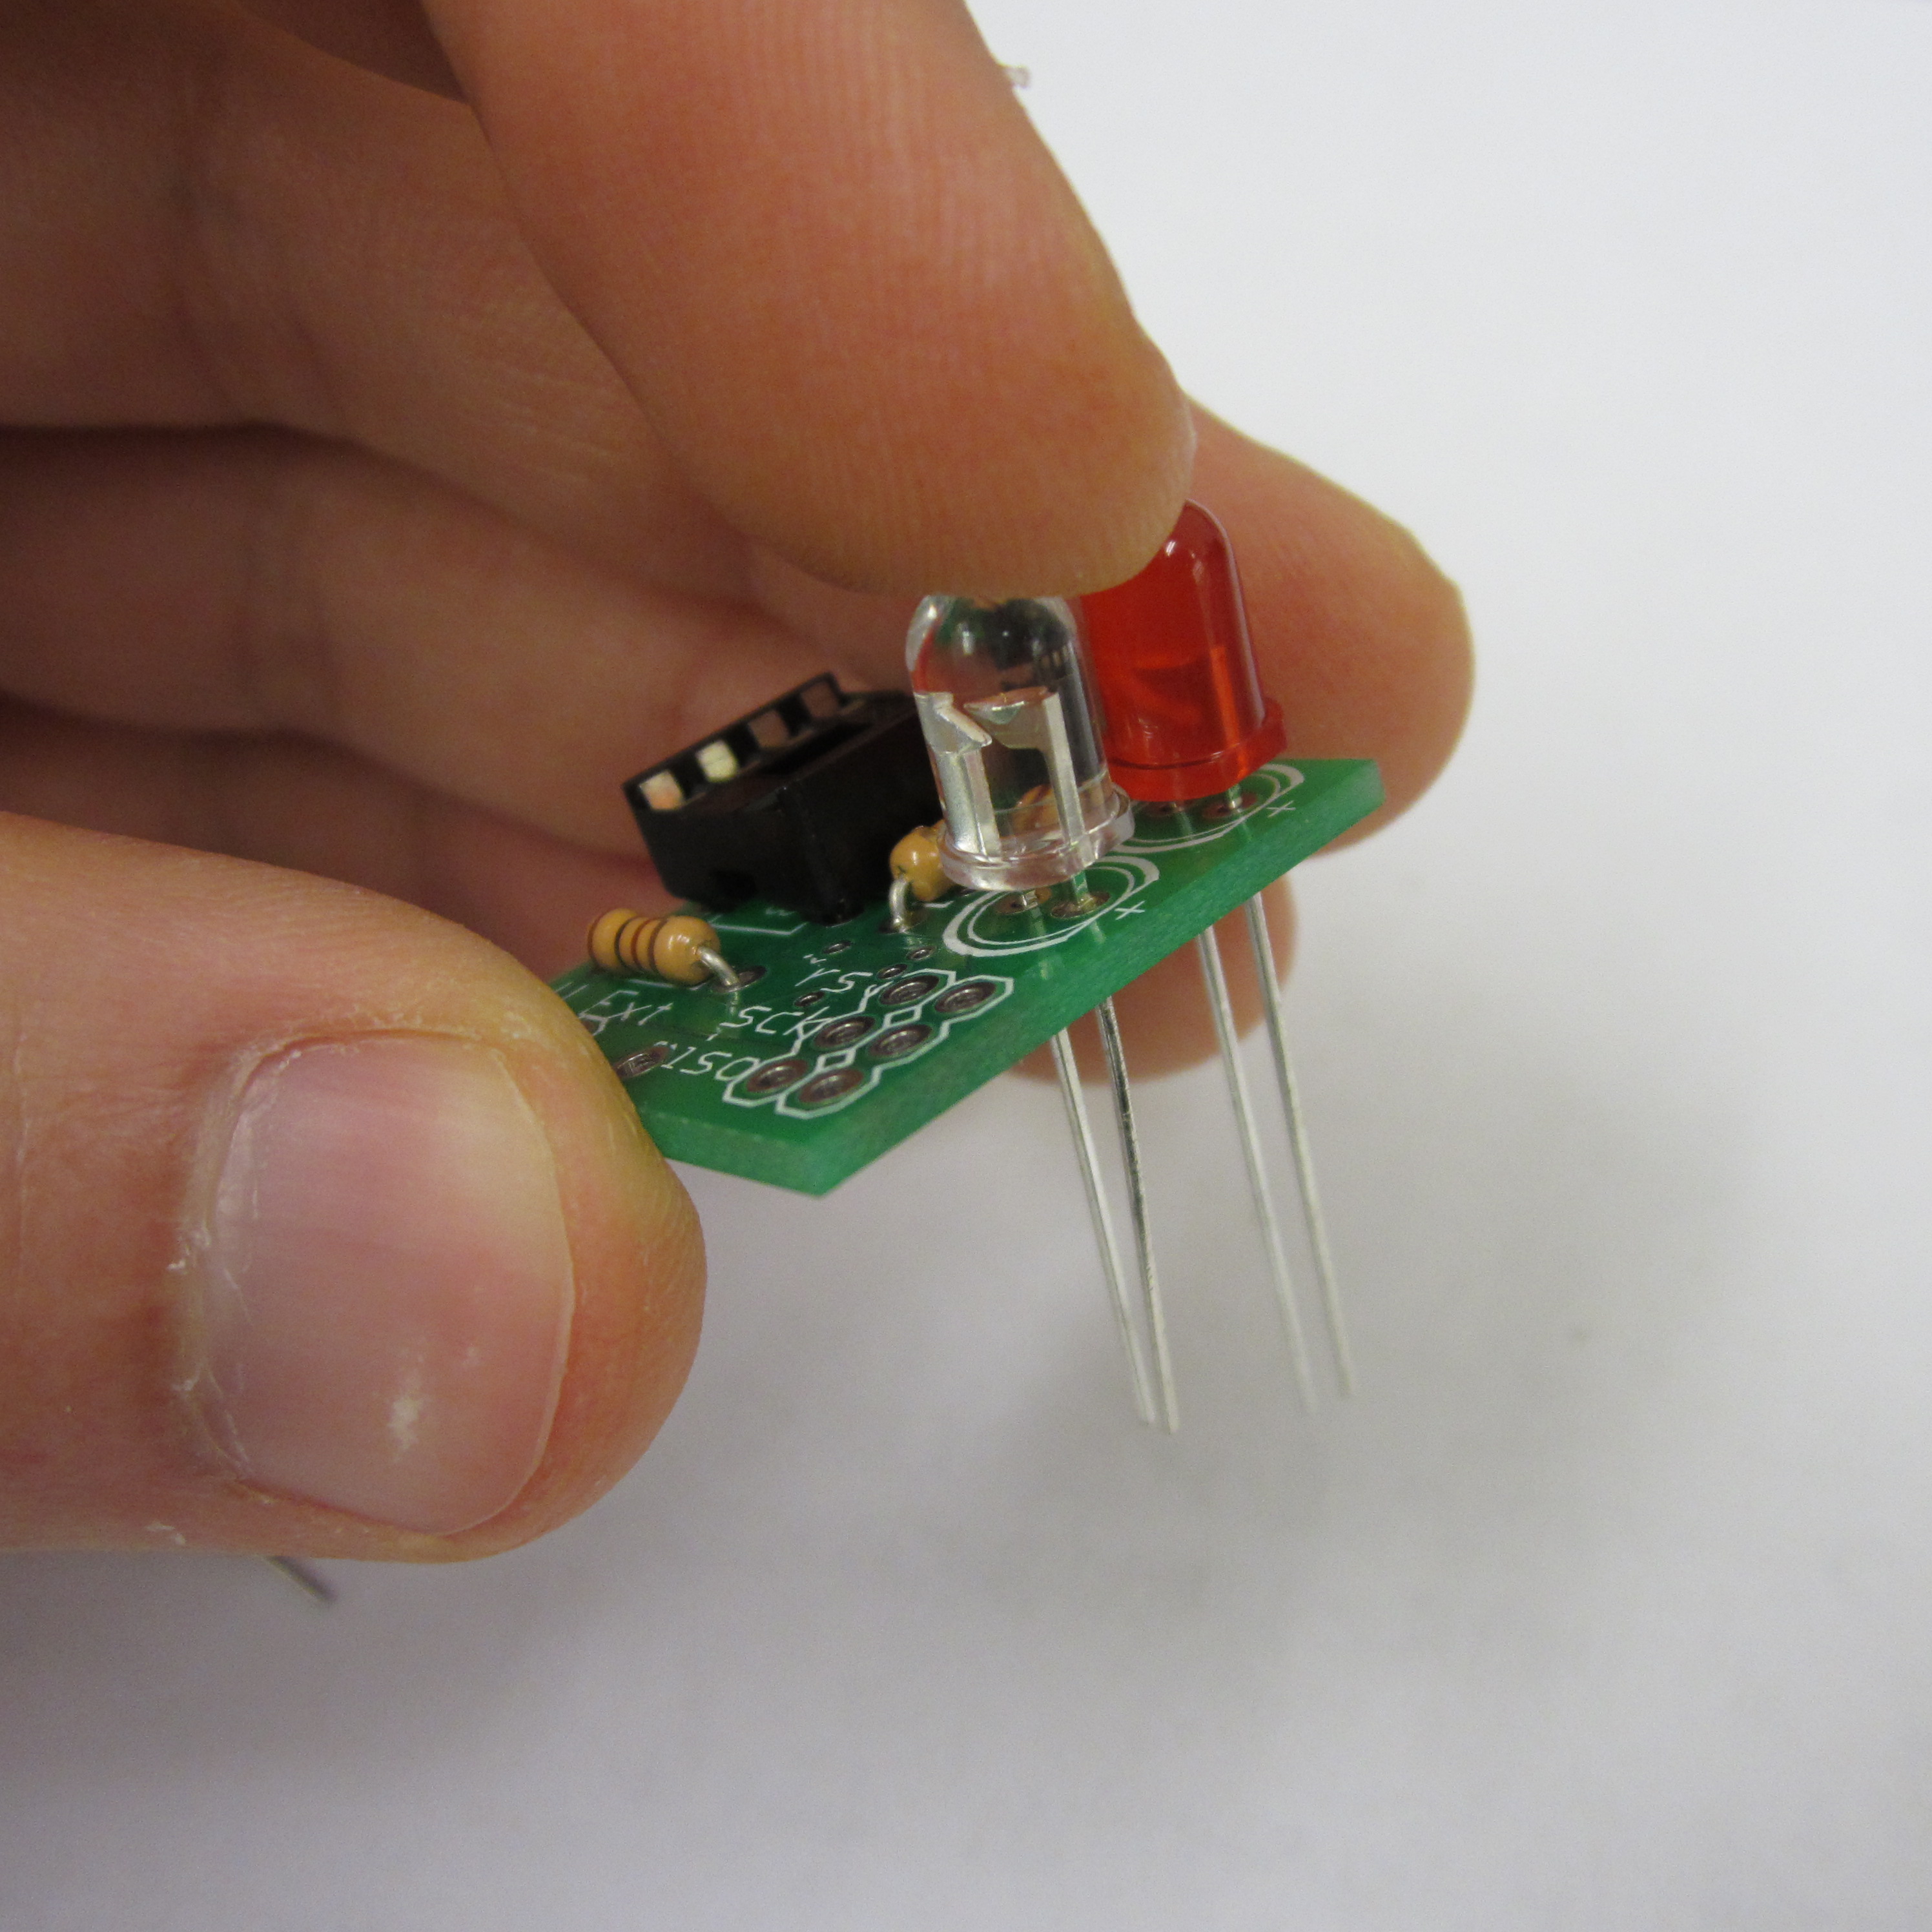
4. Solder LEDs
The LEDs can be solder into either position. It doesn't matter because both LEDs are lit simultaneously. Match up the flattened sides of the LEDs with the artwork on the board. (Ignore the + marks by the LEDs. They are wrong.) Solder the leg closest to the edge of the board of each LED. Then adjust the position of the LED by pushing it flush with the circuit board while re-melting the solder. Once the LEDs are positioned properly, solder the remaining LED legs.
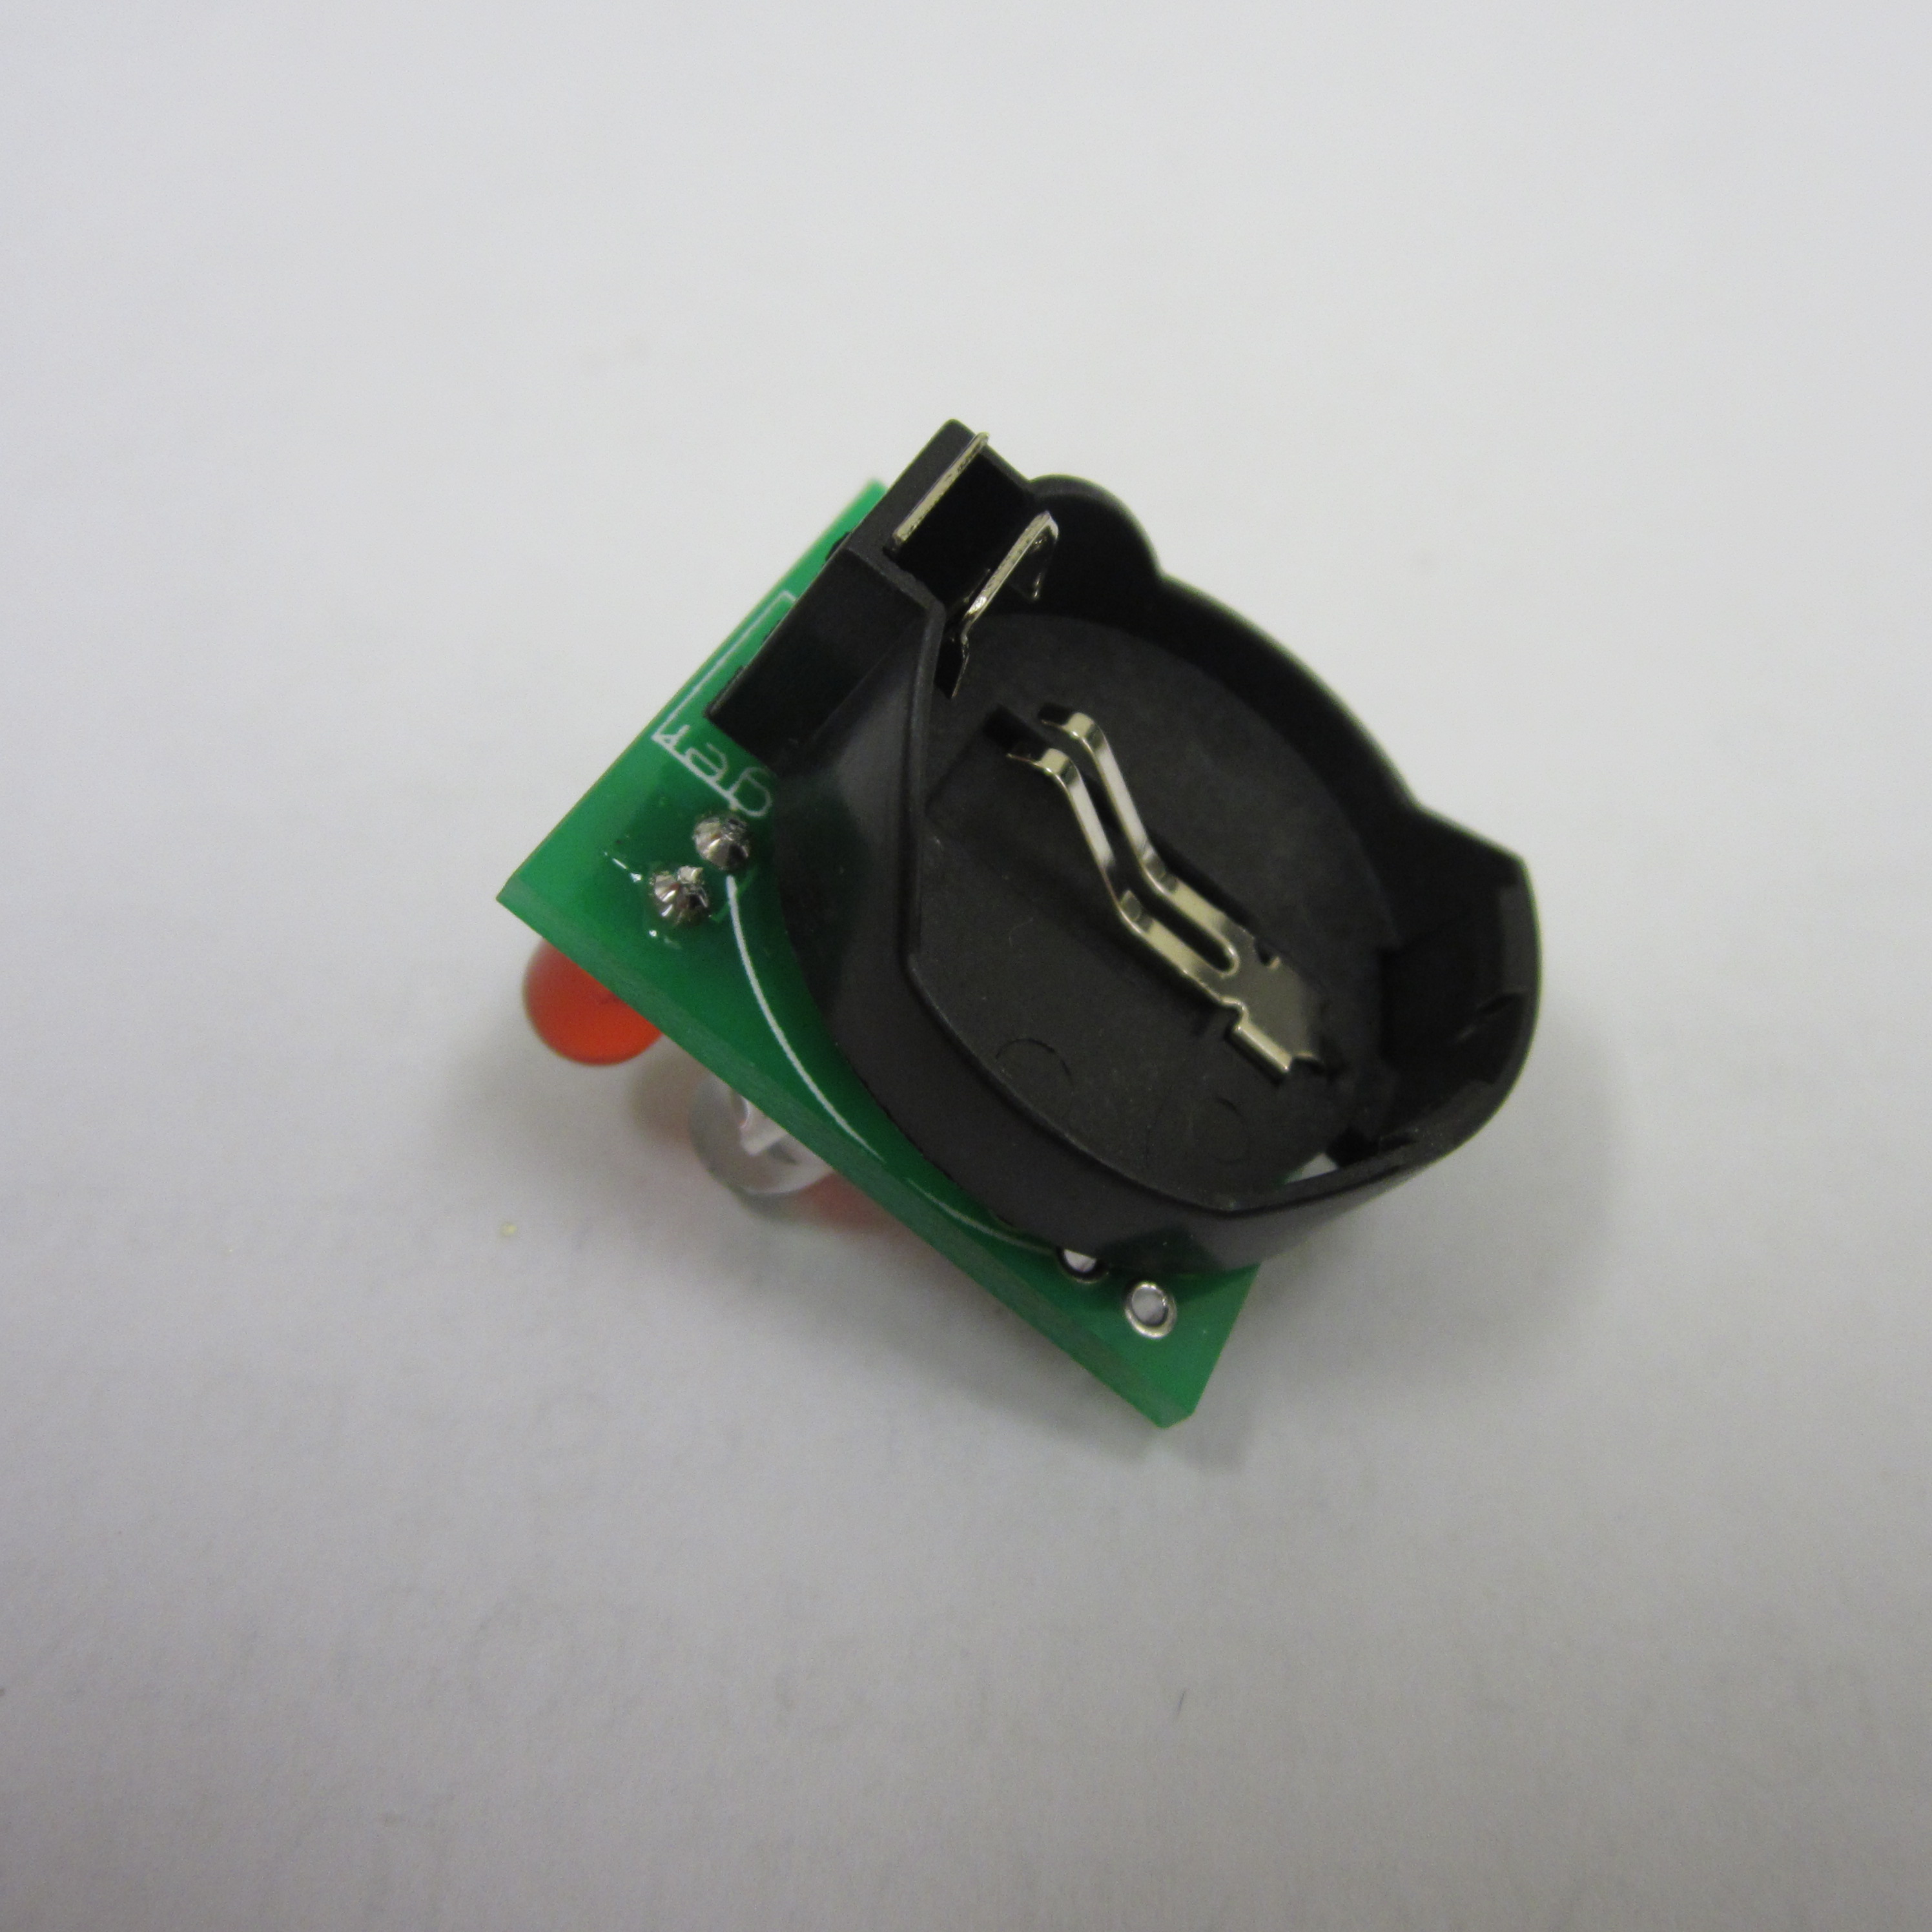
5. Solder Battery Clip
Solder the battery clip to the back of the board. You may have to push hard to get the battery clip into the holes for it. You do not have to fully insert the battery clip. Just make sure that your solder makes a secure contact between the leads of the battery clip and the holes.
Download steps w/o images
Download steps w/ images
Revisions
2 -
1 - Initial project release
Add revision
blog comments powered by Disqus
Back


