• Featured User: kurt

    Ohh_avatar

    Open-source hardware project hosting is my passion. I spend most of my free time building neat gadgets or planning what I'll build next. I love building things, and I want to make Open Hardware Hub a place that inspires others to build, ...

    Learn More

  • Updates 2013 February 18

    It's been a while, hasn't it? Well, that's ok because we've got a lot of updates to talk about. Most of these have been effective on the site fora couple weeks now. A few may or may not be active when this article gets posted, but they'll certainly be applied in the ...

    Find Out More

Portal Turret Plushie


Download this project


Ohh_avatar

By: kurt

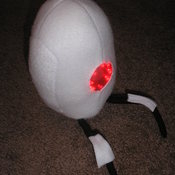
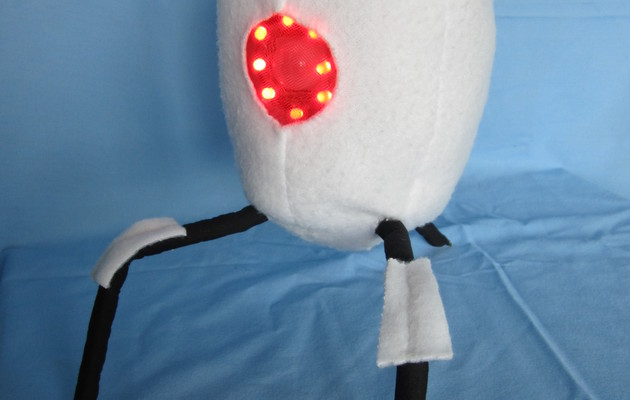
Deadly, yet adorable, this plush turret from the game Portal talks and responds when you play with it. It senses when you pick it up, knock it over, or walk in front of it. The stuffing and soft fleece skin make it super cuddly, too!
Inspired by Up, not North.

Download project description w/o images
Download project description w/ images

Files

Download all project files

Bill of Materials

This open source hardware project contains no parts.

Steps

21. Solder SD card slot

Solder the four large flanges on the sides of the slot first. then solder the rest of the small pins that are in the middle of the board. The flanges are for structural support, and the small pins carry electronic signals.

P6183772

22. Insert resistor

Insert the 10k (brown-black-orange) resistor into the R6 slot. Note: this resistor is too close to IC4. I recommend that you install this resistor after installing IC4 otherwise your IC4 may not seat properly.

P6183773

23. Solder resistor

Bend the leads so it doesn't fall out when you turn the board over. Solder it in place.

P6183774

24. Insert resistors

Insert resistors R7 (1.5k, brown-green-red) and R8 (100k, brown-black-yellow) as shown.

P6183775

25. Solder resistors

Bend their legs so they don't fall out and solder them in place.

P6183776

Download steps w/o images
Download steps w/ images

Show all steps

Revisions


15 - added attribution note
14 - updated description
13 - added a couple switches to the parts list
12 - updated steps 52 and 53 to remove "TK" placeholders
11 - added a speaker to the BOM
10 -
9 -
8 -
7 - edited step 130
6 -
5 -
4 -
3 - updated project images.
2 - added youtube link. updated line numbers.
1 - Initial project release
Add revision


blog comments powered by Disqus
Back