-
Featured User: kurt

Open-source hardware project hosting is my passion. I spend most of my free time building neat gadgets or planning what I'll build next. I love building things, and I want to make Open Hardware Hub a place that inspires others to build, ...
-
Updates 2013 February 18
It's been a while, hasn't it? Well, that's ok because we've got a lot of updates to talk about. Most of these have been effective on the site fora couple weeks now. A few may or may not be active when this article gets posted, but they'll certainly be applied in the ...
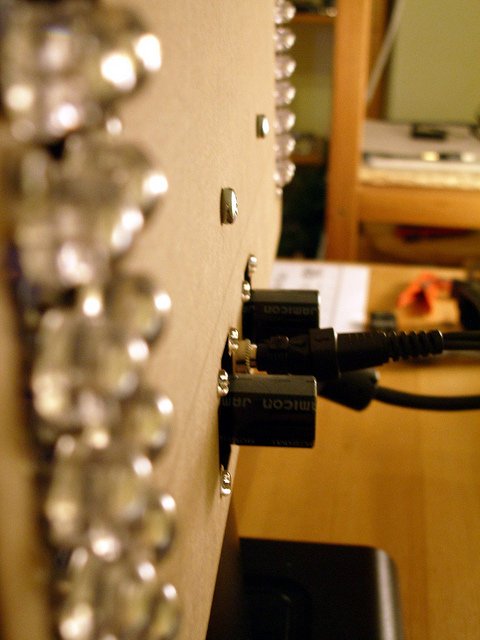
Monitor backlight

Files
This open source hardware project contains no files.
Bill of Materials
This open source hardware project contains no parts.
Steps
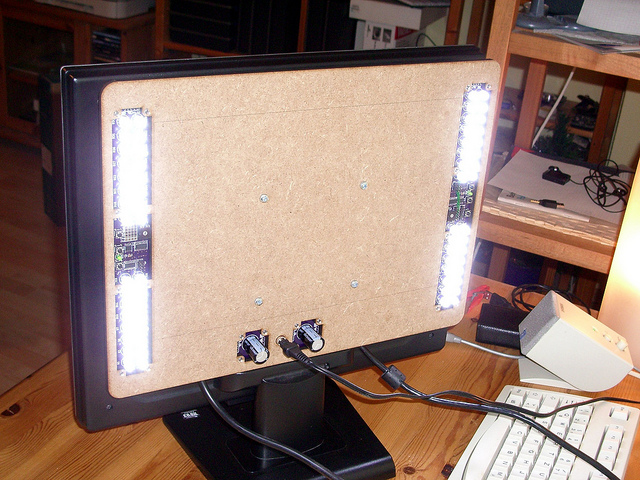
1. Have a close look at your monitor
Have a look at your monitor's 'behind' and see what kind of VESA-mount you can find. My 19'' version is equipped with a so called VESA-100 mount. In essence there are 4 METRIC mounting holes on the backside, aligned on the corners of a 100x100mm square. You'll also need metric M4 bolts to go into these threaded holes. I prefer the socket head cap types. Side note: There are also the ones with a flattened head, but they may be a bit harder to get. Especially if there are only your 'typical' hardware stores where you live. Just ask them for these and you see bulging eyes and a big question mark hovering over people.
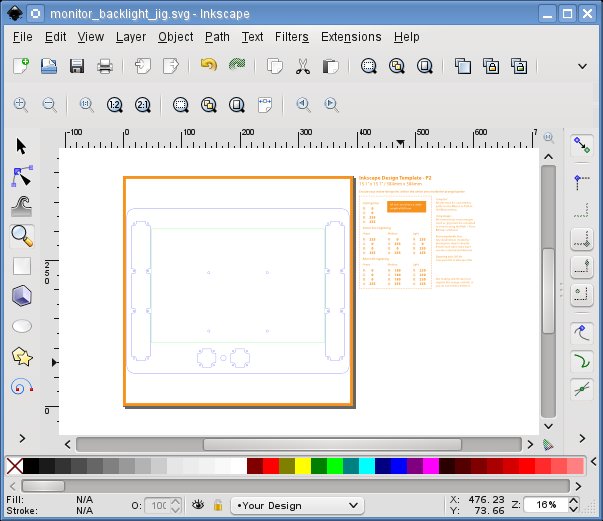
2. Take measurements and make the drawings
Measuring twice will prevent you from buying twice... Just make sure everything fits, so a final sanity check before sending out the order. You don't want to block access to the VGA/DVI cable!
Again, using Ponoko is a very smooth process. Give it a try. They even gave me a phone call to resolve a small issue they had with my files.
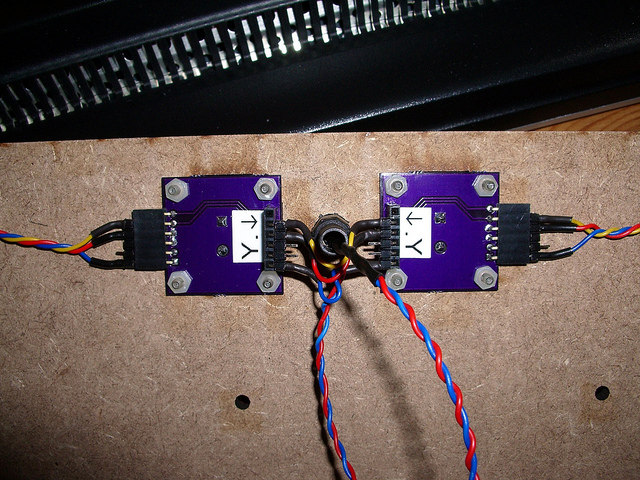
3. Assemble and be happy
The part of this project that involves the laser-cut parts shouldn't give you any trouble, just measure twice ;-) Assuming the LED lamp you might use for this works too, you'll be done in no time. In case you don't have a nice PCB that can be bolted down to the laser-cut MDF board, got to Step 2! If you spin a completely new version of this idea, why not have them laser-cut suitable holes for 10mm LEDs. That way you can directly insert them. Of course that will require a lot of wires... Your choice ;-)

Download steps w/o images
Download steps w/ images
Revisions
1 - Initial project release
Add revision
blog comments powered by Disqus
Back


