• Featured User: kurt

    Ohh_avatar

    Open-source hardware project hosting is my passion. I spend most of my free time building neat gadgets or planning what I'll build next. I love building things, and I want to make Open Hardware Hub a place that inspires others to build, ...

    Learn More

  • Updates 2013 February 18

    It's been a while, hasn't it? Well, that's ok because we've got a lot of updates to talk about. Most of these have been effective on the site fora couple weeks now. A few may or may not be active when this article gets posted, but they'll certainly be applied in the ...

    Find Out More

Portal Turret Plushie


Download this project


Ohh_avatar

By: kurt

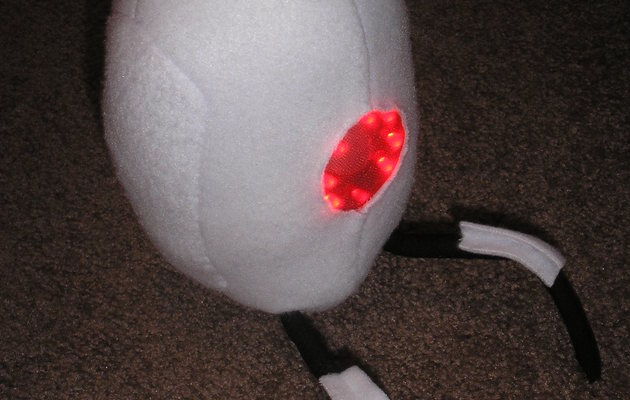
Deadly, yet adorable, this plush turret from the game Portal talks and responds when you play with it. It senses when you pick it up, knock it over, or walk in front of it. The stuffing and soft fleece skin make it super cuddly, too!
Inspired by Up, not North.

Download project description w/o images
Download project description w/ images

Files

Download all project files

Bill of Materials

This open source hardware project contains no parts.

Steps

. Sew zipper to other side

Flip the fabric inside out, and line the unstitched side of the zipper with the unstitched side of the fleece. Sew from the top until just past the zipper.

Step11

. Put fabric shell on electronics skeleton

Flip the fabric right-side out, and carefully slip the fabric over the skeleton of the turret.

Step12

. Stuff with fiberfill

Open the zipper, and use the fiberfill to stuff the turret around the skeleton.

Step13

. Cut leg slits

Cut slits in the front of the fabric so that it fits around the wire legs. Tip: If you need to adjust the cut, simply make another cut and sew up the previous cut.

Step14

. Print out leg pattern

Print out and cut the pattern for the legs and leg covers. When you print these pieces, make sure to set "Page Scaling" to "None" in the "Print" dialogue box.

Scaled_pattern_3 Scaling

Download steps w/o images
Download steps w/ images

Show all steps

Revisions


15 - added attribution note
14 - updated description
13 - added a couple switches to the parts list
12 - updated steps 52 and 53 to remove "TK" placeholders
11 - added a speaker to the BOM
10 -
9 -
8 -
7 - edited step 130
6 -
5 -
4 -
3 - updated project images.
2 - added youtube link. updated line numbers.
1 - Initial project release
Add revision


blog comments powered by Disqus
Back